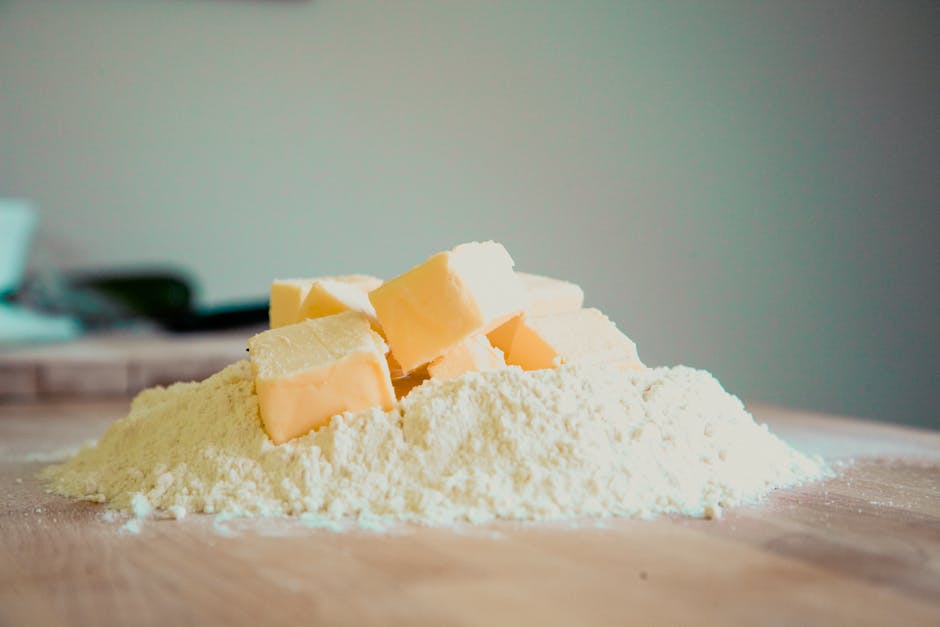
Method 1: Buttering and Flouring
Ah, the classic! This tried-and-true method is one of the most popular for greasing a cake pan. Butter serves as our greasing agent while flour acts as a thin barrier between the butter and the cake batter. Start by melting some unsalted butter—the unsalted variety prevents your cake from taking on an unintended salty flavor. Use a pastry or silicone brush to apply an even layer of butter in the pan, then follow with a dusting of flour. Give your pan a shake, rotating it as you do so to allow the flour to stick to all areas of the butter. Remember to tap out any excess flour to avoid a clumpy mess on your cake.
Method 2: Using Oil and Parchment Paper
Joining hands with parchment paper, vegetable oil proves to be an excellent alternative to butter for greasing pans. Pour a small amount of neutral-flavored oil into the center of the pan and wipe it around using a paper towel until fully coated. Follow this with a layer of parchment paper, pressing down to adhere it to the oil. Repeat the oil application on top of the parchment paper too. This double whammy provides solid stick resistance and ease of cake removal.
Method 3: Using Shortening
Shortening is another brilliant agent for preventing your cake from sticking. While offering an impressive stick-proof performance, it does have a heavier consistency, so thin and even is the key to application. Take a small amount and spread it around the interior of the pan using your fingers or a paper towel, making sure to cover all corners and edges. Remember, as shortening is flavorless, it won’t contribute anything to your cake’s taste so it’s ideal for flavorful cakes where you don’t want any interference.
Method 4: Cocoa Powder for Chocolate Cakes
Want a greasing method that doubles on flavor? Then grab your cocoa powder. Functioning as a tastier substitute to flour, cocoa powder is the trick for aligning your pan greasing with the flavor profile of your chocolate cake. Sift some cocoa powder over your greased cake pan, ensuring that it sticks to all the greased regions. Shake out the excess to avoid uneven distribution which could result in an irregularly baked cake.
Method 5: Using Baking Spray
Get all the greasing power with none of the mess with baking sprays. Simply hold the can about six inches away from the pan and spray—covering the bottom and the sides in a sweeping motion. Here’s a pro-tip: Choose between baking spray with flour and without depending on the cake you are baking. Regular sprays work great for almost all cakes, but for chocolate or red velvet cakes, you might want to use a baking spray with flour for a flawless share.
Method 6: Using Sugar
Get set to sweeten your cake’s crust with sugar’s caramelizing properties that deliver a crumbly and delicious crust. Start by greasing the pan with butter, shortening, or oil, then instead of flour, use granulated sugar. The crust it forms adds a delightful crunch and flavor to your cake edges. However, be cautious with delicate recipes that may not handle the caramelized sugar well.
Method 7: Using Special Grease Recipes
Do you always find yourself improvising a greasing method at the last minute? Consider investing some time in prepping a homemade cake-release mixture. These mixtures, often combining flour, shortening, and oil, can be stored in your fridge ready for pop-on-demand use. Just brush it on evenly and your pan is ready to bake!
Method 8: Using Brush for Even Distribution
For an exceptionally even coating of your greasing agent, a baking brush is your friend. Use a silicone brush (they’re both durable and super easy to clean) to apply your greasing agent in the pan, brushing in one direction for consistency. An even coating ensures that your cake bakes uniformly and releases with melodrama.
Method 9: Layering Parchment Paper
Parchment paper is a trusty savior that ensures seamless cake removal after baking. It’s all about careful placement: Press it gently down onto the greased pan, ensuring it sticks to the bottom and sides. Use scissors to cut the paper in the shape of the pan for best fit.
Method 10: Silicone Baking Mats
With silicone baking mats, greasing nightmares can be totally bypassed. Simply cut your baking mat to fit the size of your pan, fit it in, pour your batter, and voila! The non-stick properties of the silicone ensure flawless cake removal, and they are reusable, making them an eco-friendly option.
To conclude, every bakers’ tools and preferences may differ, but with these ten handy methods to grease your cake pan, you can choose what works best for you and your recipe. It’s all about experimenting and finding what gives you the tick of perfection for your baking endeavors. So, go on, preheat your oven, and let the baking begin!
| Method | Pros | Cons |
|---|---|---|
| Buttering and Flouring | Classic and reliable method | Can leave a floury residue on cake exterior |
| Using Oil and Parchment Paper | Excellent stick resistance and easy removal | Requires parchment paper |
| Using Shortening | Offers impressive stick-proof performance | Doesn’t add to cake’s flavors |
| Using Cocoa Powder | Perfect for chocolate cakes | Limited to chocolate flavored cakes |
| Using Baking Spray | Easy and mess-free to use, available with flour and without | Some might worry about chemicals in spray |
| Using Sugar | Produces a delightful crunchy and sweet crust | Not ideal for all cake recipes |
| Special Grease Recipes | Ready-to-use greasing solution | Recipe required, not ideal for last minute |
| Using a Brush | Ensures even distribution | Additional tool required |
| Parchment Paper Layering | Guarantees perfect cake removal | Requires parchment paper and cutting |
| Silicone Baking Mats | Reusable, eco-friendly and no greasing required | Pricey initial cost |
Take it from us, whatever method you end up choosing, always remember that the main goal is to make sure that your cakes slide out of the pan without causing any heartbreaks. Now that you’re equipped with enough knowledge, it’s time to bake the cake that makes the whoopee. We’d love to hear which method is your favourite and why. Happy baking!
Key Takeaway:
- Buttering and flouring is a classic, simple method for greasing a cake pan.
- Vegetable oil and parchment paper provide an excellent alternative to butter.
- Shortening can be used for flavorful cakes, where you don’t want any interference in taste.
- For chocolate cakes, cocoa powder is a tastier substitute to flour as a greasing agent.
- Baking sprays are a quick, mess-free greasing solution. They come with and without flour.
- Sugar gives a delightful crunch and flavor to your cake edges.
- Homemade cake-release mixtures are an effective and readily available greasing solution.
- Using a baking brush ensures an even coating of the greasing agent on the pan.
- Parchment paper can quickly be layered onto a greased pan for seamless cake removal.
- Silicone baking mats are reusable, eco-friendly, and require no greasing.
In the end, it’s all about finding what works best for you. Don’t be afraid to experiment and personalize these methods to match your baking needs. A well-greased cake pan is the first step to a beautifully baked cake. So go ahead, bake with confidence knowing that your cake will glide right out of the pan perfectly.
FAQs
Q: Can I use butter-flavored shortening for greasing the pan?
A: Yes, you can. However, remember that the flavor of the shortening will add to the taste of your cake. So, use it when it complements the flavors of your cake.
Q: Can I substitute parchment paper with wax paper for greasing?
A: No, wax paper is not suitable for oven use as the wax can melt and smoke, affecting your cake. Stick to parchment paper which is designed for baking purposes.
Q: Can I reuse a silicone baking mat?
A: Yes, silicone baking mats are reusable and can easily be cleaned. They are an eco-friendly and cost-effective option for baking.
Q: Is it possible to use a homemade greasing agent like a cake release mixture?
A: Absolutely! A homemade cake-release mixture, typically composed of flour, shortening, and oil, is an effective pan greaser. Plus, you can make it beforehand and store it in the fridge.
Q: My cake still sticks to the pan despite greasing. What am I doing wrong?
A: It’s possible that your greasing layer is too thin, uneven or you’re missing spots. Try applying a little more grease and ensure it’s evenly spread over the entire pan. Also, let your cake cool before attempting to remove it from the pan.
We hope you found this information useful. Please feel free to share it with other baking enthusiasts. Explore our website for more tips and tricks for perfect baking!