Finding it hard to preserve the zesty freshness of ginger? Or wanting to savor that sushi restaurant’s pickled ginger tang at home? If so, you’re in the right place. Pickling is an easy and delicious way to preserve ginger, packed with gut-friendly probiotics. As well as being a household staple in pantries across Asia, it’s a surefire way to up your culinary game at home. Today, we’re diving into the sea of authentic ginger pickling, exploring four unique and straightforward techniques that you can master with little effort.
Let’s start with the basics.
Understanding the Basics of Pickling Ginger
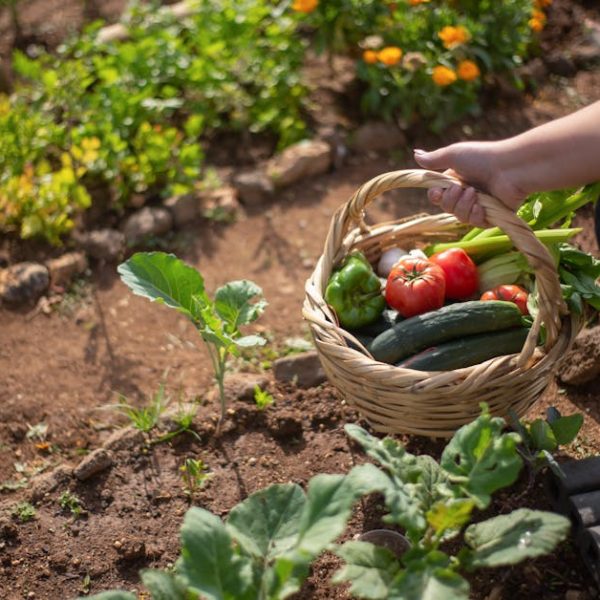
Pickling ginger primarily enhances its lifespan and adds a fantastic twist to its flavor. It’s a great digestion aid and is traditionally served with sushi to cleanse your palate. Young ginger, which is tender with a mild flavor and thin, transparent skin, is the go-to option for pickling.
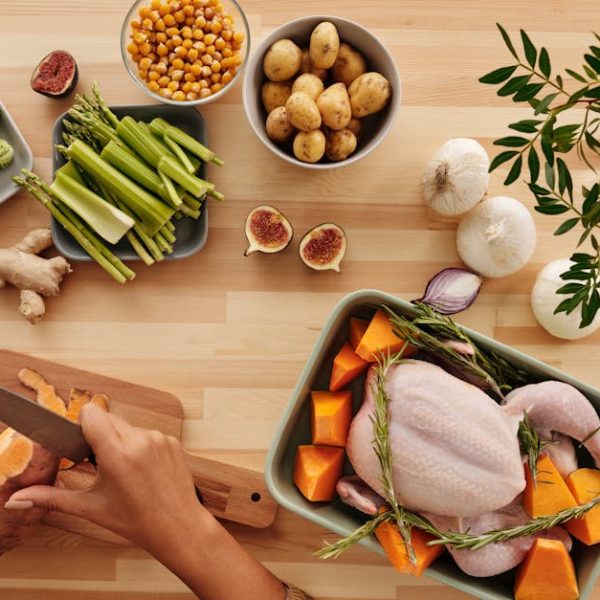
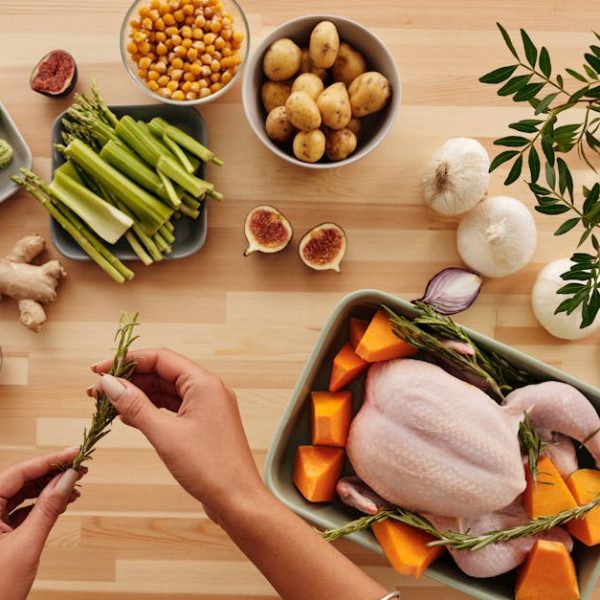
Ginger preparation involves:
- Thoroughly washing the ginger.
- Peeling the skin off.
- Slicing it thinly for best results.
✅ Pro tip: Choose ginger roots that feel firm and have smooth skin – it’s a sure sign of good quality. And as for tools? A jar, pot, knife, and peeler are all you need to start.
Cold-Pickling Technique
This technique is all about marinating the ginger in a cold brine and then refrigerating it. It’s simple, involves few steps, and is ideal for when you want some pickled ginger pronto. Your basic recipe includes chopping the ginger, preparing a salt and vinegar brine, and then letting your ginger take a chilly dip in it.
Steps:
Prepare your ginger > Make a brine with two parts vinegar to one part each of sugar and salt > Soak ginger > Refrigerate.
⚠️ Best practice: Make sure to completely submerge the ginger in the brine for optimal flavor infusion.
Quick Pickling Technique
Quick pickling is your ticket to speedy satisfaction. It’s a faster version of the traditional method, and it’s perfect if you want pickled ginger for a recipe or a snack, ASAP. This method differs as it involves a brief cooking stage to speed up the pickling process.
Steps:
Prepare your ginger > Make a brine > Heat the ginger and brine > Allow to cool > Refrigerate.
| Pros | Cons |
|---|---|
| — | — |
| Quick results | Not as flavourful as long-term methods |
| Easier process | Shorter shelf life |
⚠️ Best practice: Sterilize your jars before starting. It’s an essential step for safety and optimal pickling results.
Now that you’re well-versed with these techniques, our pickling journey moves on to long-term pickling and natural fermentation method. Ready to dive in deeper?
Long-Term Pickling Technique
Ginger that’s been steeped in a pickling solution over the long haul gets a full-bodied, robust flavor. The process is similar to cold pickling, but the ginger requires extended storage in the brine to let those flavors intensify. This method requires a fair amount of patience, but the exceptional ginger flavor at the end makes it all worth the wait.
Steps:
- Prepare your ginger.
- Make a brine.
- Soak ginger.
- Store in a dark, cool place for at least a week (the longer, the better!).
Ingredients:
- Ginger
- Vinegar
- Sugar
- Salt
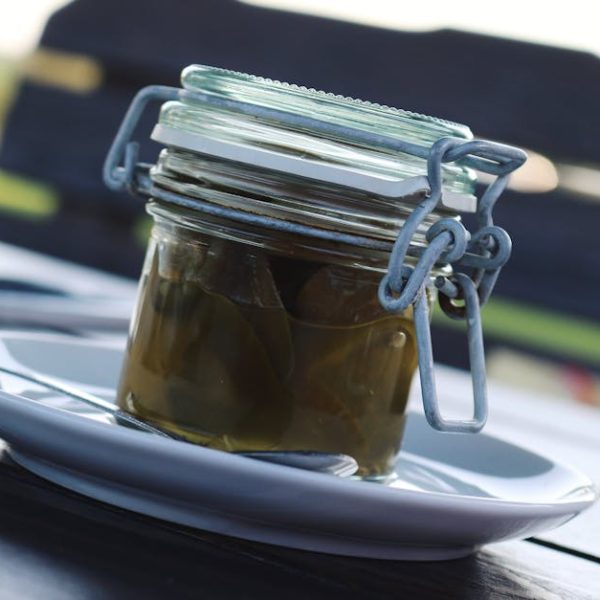
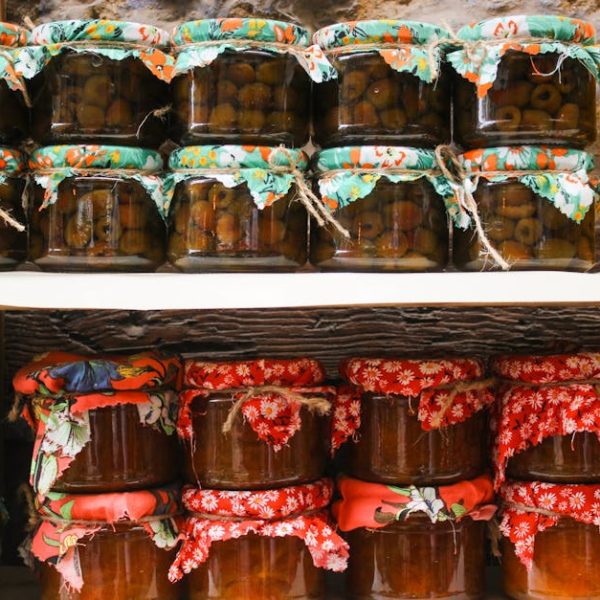
⚠️ Best Practice: Always store the jars in a dark, cool place. This will help to preserve the flavor and extend the shelf-life of your pickled ginger.
Pickling Ginger with Natural Fermentation
This process involves harnessing the raw potential of naturally occurring bacteria to ferment the ginger. You only need salt, water, and time – no vinegar required!
Steps:
- Prepare your ginger.
- Mix salt and water.
- Place the ginger in jars, adding the saltwater over the top.
- Wait for the fermenting magic to happen (this usually takes a few weeks).
| Pros | Cons |
|---|---|
| Uses natural bacteria, no vinegar is required | Takes longer than vinegar-based methods |
| Fermented veggies are rich in probiotics | Requires close monitoring for signs of spoilage |
⚡Bonus pointers for this method: before you start, ensure your tools and hands are clean. When fermenting, always ensure the ginger is fully submerged in the brine solution. Check the process regularly to avoid any spoilage. When fermentation bubbles stop rising, your pickled ginger is ready to consume.
So, there you have it – four easy yet distinctive methods to pickle ginger at home. With these techniques in your culinary arsenal, you can enjoy the satisfying tang and wholesome benefits of pickled ginger any day you want. Happy pickling!
Key Takeaway:
- Ginger is often pickled to extend its lifespan and enhance its flavor. Young ginger is the best type for pickling due to its mild flavor and thin skin.
- The cold-pickling method involves soaking ginger in a cold brine and storing the ginger in the fridge. It’s a straightforward technique for immediate results.
- The quick pickling method is faster but slightly less flavorful and with a shorter shelf-life. It involves a brief cooking stage to expedite the pickling process.
- The long-term pickling technique involves a longer storage time in brine to intensify the flavor. It is a slower method but yields a more robust flavor.
- Natural fermentation pickling involves only salt, water, and ginger. This method is probiotic rich and does not require vinegar, however it takes longer and requires regular monitoring to avoid spoilage.
Embarking on a pickling journey opens a new world of flavors that not only prolongs the gastronomical life of ginger, but also enriches your meals with its diverse taste profiles. Remember, whether you’re going for quick or slow pickling, cleanliness is essential to ensure safe and successful pickling. Happy pickling!
FAQs
Q: Can I use regular kitchen equipment to pickle ginger at home?
A: Yes, pickling ginger at home doesn’t require any special equipment. You will need a jar, pot, knife, and peeler, which are all common kitchen tools.
Q: How long does pickled ginger last?
A: If stored properly, homemade pickled ginger can last for several months in the refrigerator. Always ensure it’s covered with its brine to prevent spoilage.
Q: Does the type of vinegar I use impact the flavor of my pickled ginger?
A: Yes, different types of vinegar will give slight variations in flavor to your pickled ginger. Experiment with different ones to find your favorite!
Q: Can I use the pickling brine for other recipes?
A: Certainly! Pickling brine can add a unique and tangy flavor note to your other recipes, from marinades to salad dressings!
Q: What other vegetables can I pickle using these methods?
A: These pickling methods are versatile and can be used to pickle a wide variety of vegetables, like cucumbers, radish, carrots, or even cauliflower. Enjoy the fun of pickling!
Intrigued? There’s more on the blog! Feel free to explore and share this post with other foodies in your life. Happy exploring!