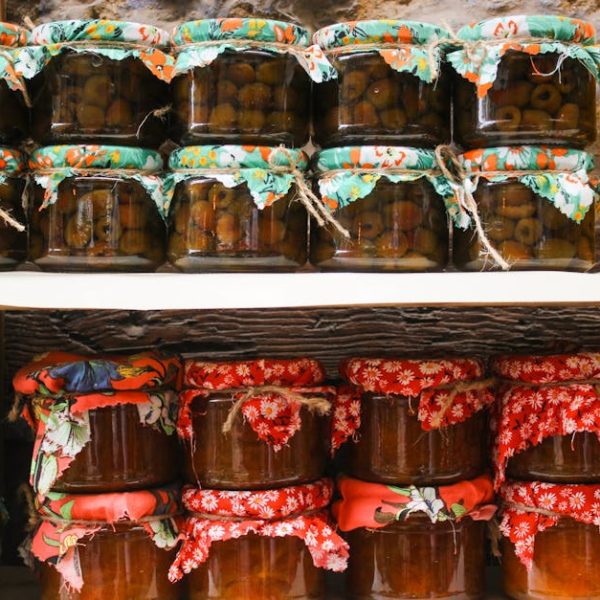
Canning squash provides a wonderful opportunity to preserve the flavors of fall and winter for year-round enjoyment. The process involves a few key steps that ensure both the taste and safety of your canned goods. Throughout this article, we will explore five important tips for canning squash along with sharing super-satisfying recipes that you can try.
Quick Tip 1: Choosing and Preparing the Squash for Canning
To yield the best results, it’s crucial to begin with squash of high quality. When selecting your squash, look for firm, well-ripened ones that are free from blemishes. The ideal squash should feel heavy for its size, indicating good hydration.
The squash must be prepared properly before canning begins. First, wash them carefully to remove any soil or debris. Then, cut the squash into halves and remove the seeds. To simplify this process, follow this checklist:
- ✔ Ensure your cutting equipment is clean and sharp.
- ✔ Wash your hands thoroughly before handling the squash.
- ✔ Use a sturdy cutting board to prevent slipping.
- ✔ Discard any pieces with signs of rot or damage.
Quick Tip 2: Blanch and Cool the Squash Prior to Canning
Once you’ve cleaned and cut your squash, the next stage is blanching. Blanching involves briefly immersing your squash pieces in boiling water, then quickly cooling them in ice water. This process helps to kill any residual bacteria and maintain the fresh, vibrant squash taste.
Here are some Pro Tips for blanching:
- ⭐Maintain a rolling boil to ensure even and rapid heating.
- ⭐Use a large pot or blanching basket to avoid overcrowding.
- ⭐Count blanching time from when the water returns to boiling after adding squash.
Comparing blanched vs unblanched squash, blanching helps to retain color and nutrients while reducing bacterial spoilage, making it an essential step in the canning process.
Quick Tip 3: Pack and Fill Jars Correctly for Safe Canning
Next, pack your blanched squash pieces into clean, sterilized canning jars. Pour hot cooking liquid over the squash, leaving a headspace to allow for expansion during the canning process.
Here are the key points to remember:
- ✔Pack the squash tightly, but without crushing the pieces.
- ✔Use a bubble remover tool or plastic knife to eliminate air pockets.
- ✔Leave a headspace (the gap between the food and the lid) of around 1 inch.
Packing and filling mistakes often lead to sealing problems or spoilage, so ensure to take this step with utmost care.
Quick Tip 4: Use a Pressure Canner for Safe and Effective Canning
Pressure canning is the recommended method for canning squash. This method is necessary to safely preserve foods with low acidity, such as squash. It heats the contents to 240°F, eliminating the risk of foodborne bacteria.
Some Pro Tips for using a pressure canner:
- ⭐Always follow the manufacturer’s instructions for your specific model.
- ⭐Select the correct pressure setting based on your altitude.
- ⭐Allow the canner to vent steam for 10 minutes before bringing it up to full pressure.
The necessary settings for pressure canning squash are usually 10 pounds of pressure for 55 minutes for pints and 90 minutes for quarts, but always verify with your canner’s instruction manual.
Quick Tip 5: Store Canned Squash Correctly for Longevity
Once your squash is canned and sealed, proper storage is key to prolong its shelf life. The squash should be stored in a cool, dark place, such as a cellar or pantry. Avoid places with fluctuating temperatures like a garage or attics.
Comparing storage options, a pantry and cellar are typically best thanks to cool, stable temperatures, whereas the refrigerator is too cool and could impair the quality of your canned goods.
Easy Recipe 1: Sweet Squash Relish for Canning
This sweet squash relish combines squash with onions, sweet red peppers, and crisp green cucumbers. The tantalizing sweetness is perfected by the addition of vinegar and sugar.
Ingredients:
- ✔Squash, onions, red peppers, cucumbers
- ✔Vinegar, sugar, mustard seeds, turmeric
Follow the preparation process noted above, and then simmer the mixture until it thickens. Fill your jars, ensuring to leave the required headspace, and then process in the pressure canner.
Easy Recipe 2: Spiced Squash Butter for Canning
Enjoy the warming fall flavors of this spiced squash butter. Combining squash puree, apple cider, and autumnal spices, this condiment is perfect spread on warm toast or stirred into a bowl of hot oatmeal.
Ingredients:
- ✔Squash puree, brown sugar, Apple cider
- ✔Cinnamon, cloves, nutmeg
Cook all the ingredients on low heat until you achieve a thick, butter-like consistency. Pack into jars, with an approximate 1-inch headspace, and pressure-can the squash butter.
Easy Recipe 3: Squash Pickles for Canning
These tangy pickles are a unique way to preserve squash. The crisp, tart flavor makes them an excellent addition to salads or served with cold meats.
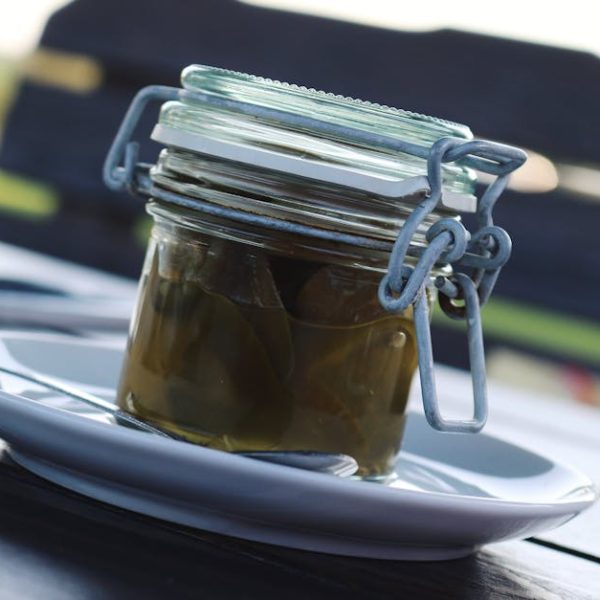
Pro tip: For a firmer texture, add a little grape leaf to each jar!
Just follow the standard canning process, substituting your pickling liquid for the usual water—or better yet, a mixture of vinegar and pickling spices.
Easy Recipe 4: Squash Preserves for Canning
You can preserve the wonderful flavors of autumn with this Sweet Squash Preserve recipe. Featuring tender squash pieces in a bath of sweet syrup, it’s the perfect accompaniment to toast, yoghurt, and pastries.
Ingredients:
- ✔Squash, sugar, lemon juice
- ✔Cinnamon, nutmeg, cloves
Pro Tip: Add a splash of bourbon for an adult twist!
Follow the canning directions as shared in the earlier tips, and enjoy your homemade squash preserves!
Easy Recipe 5: Squash Chutney for Canning
This savory chutney is a delightful blend of squash, onions, raisins, and spices. It’s the perfect condiment to spice up your meals.
Ingredients:
- ✔Squash, onions, raisins
- ✔Vinegar, sugar, mustard seeds, ginger
Create your squash chutney, fill your jars and pressure-can for delicious results. Once canned, let them sit for a couple of weeks for the flavors to fully blend.
By following these practices, you’ll have a pantry of canned squash, ready to delight your taste buds at any time with amazing flavors. Preserving squash through these methods can be rewarding, enjoyable, and best of all, tasty!
Key Takeaway:
- Squash of high quality, free from blemishes and well-ripened, are ideal for canning. They must be properly cleaned, cut, and deseeded before the canning process.
- Blanching squash before canning is crucial to eliminate bacteria and maintain the fresh taste.
- Proper packing of blanched squash into sterilized canning jars with hot cooking liquid and a precise headspace ensures safe preservation.
- Using a pressure canner is recommended for safe and effective canning of squash as it eliminates the risk of foodborne bacteria.
- After canning, proper storage of squash in a cool, dark place prolongs its shelf life. Avoid places with fluctuating temperatures.
- Various delicious recipes like Sweet Squash Relish, Spiced Squash Butter, Squash Pickles, Squash Preserves, and Squash Chutney can be prepared and conveniently canned for future use.
Relishing the rich flavors of canned squash regardless of the season is now within your reach. By adhering to the above-mentioned practical tips and delightful recipes, you can enjoy great satisfaction from using the season’s harvest wisely, and have delicious, ready-to-use food options available all year round.
FAQs
Q: How long can canned squash last?
A: Properly canned and stored squash can last for a year or more. However, for the best flavor and quality, it’s recommended to consume it within a year.
Q: Can I use other intermix of spices in the recipes for canning squash?
A: Absolutely! Canning recipes are flexible, and you can add or substitute spices to suit your taste preference. Just make sure to maintain the ratios of squash and preserving agents.
Q: Is it necessary to use a pressure canner for canning squash?
A: Yes, due to its low-acid profile, squash must be canned using a pressure canner. The high temperature attained in a pressure canner ensures the elimination of bacteria, making it safe for consumption.
Q: Can I re-use the canning jars and lids?
A: While the jars can be reused if they are clean and chip-free, it’s important to use new lids each time to ensure a good seal and safe preservation.
Q: What other vegetables can I use these canning tips and recipes for?
A: Most of these tips and recipes can be applied to other dense, low-acid vegetables like pumpkins, beets, or sweet potatoes.
We trust these tips and recipes inspire you to explore more about canning squash and other delightful produce. Feel free to share this post and dive deeper into other informative articles here.
