Butternut squash, with its vibrant color and sweet, nutty taste, is a sumptuous treat. However, like all seasonal produce, it’s not always readily available. Enter canning – a fantastic kitchen trick that ensures you can enjoy this delicious vegetable all year round. Canning butternut squash allows you to store it more effectively, without losing its essential nutrients. This technique is easy to master with the right guidance and can transform anyone into a canning aficionado. Here’s what you need to know to get started.
**H2: Understanding the Basics of Canning Butternut Squash**
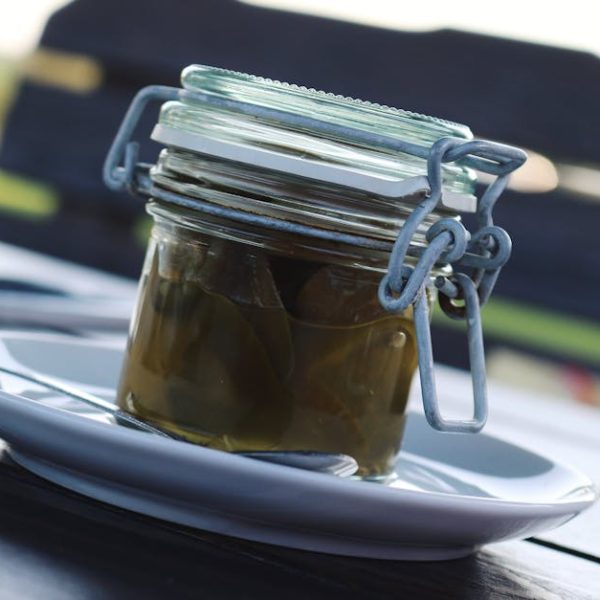
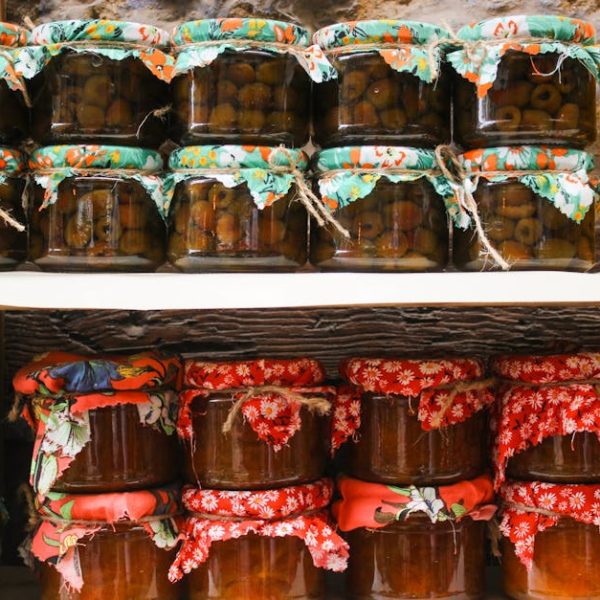
Canning is a preservation method that packages food in airtight containers, such as glass jars, to extend its shelf life. This procedure works spectacularly well with butternut squash, protecting its vibrant flavors and nutritious elements.
Here is what you’ll need for the canning process:
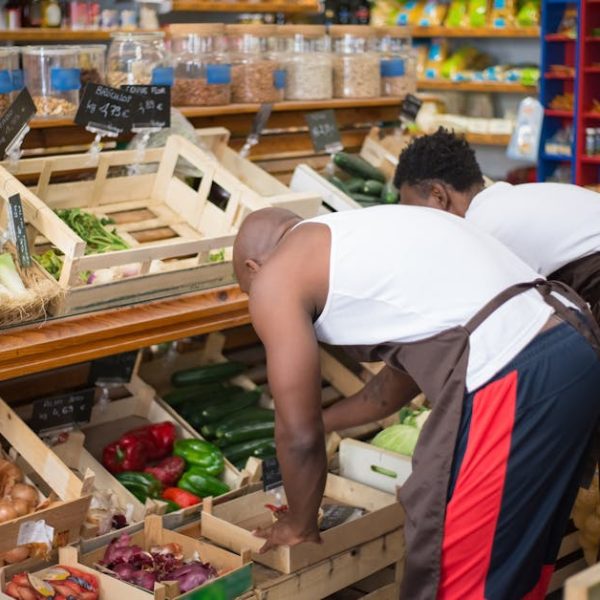
- Butternut squash (the fresher, the better)
- Canning jars with two-part lids (ring bands and sealing lids)
- Large pot or pressure canner
- Jar lifter and magnetic lid lifter
- Fresh water
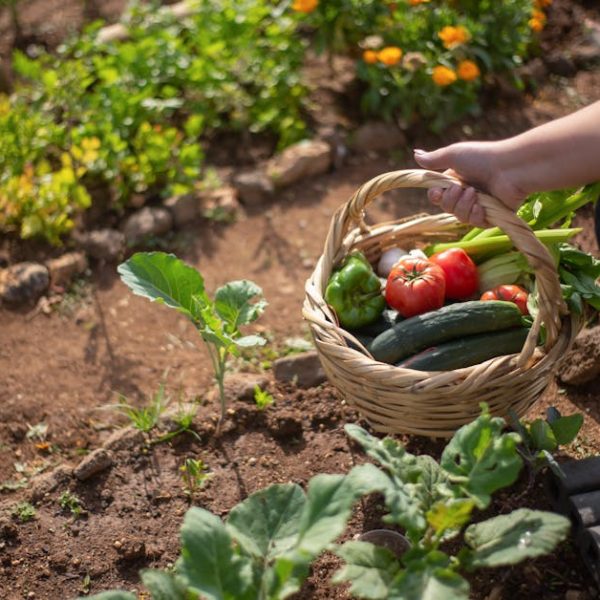
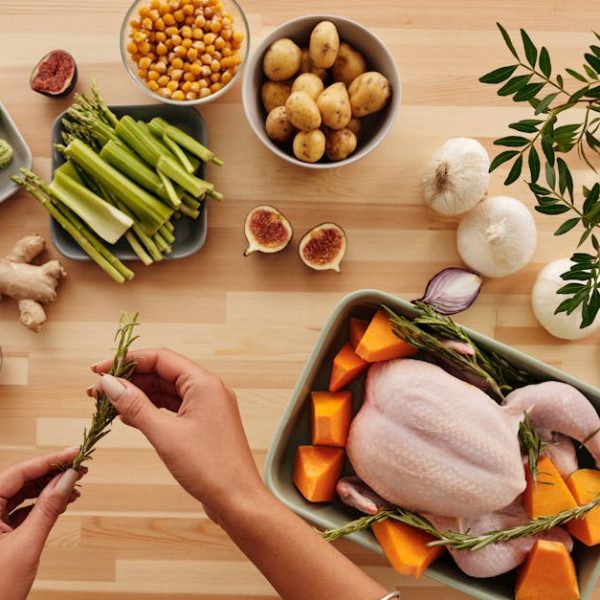
Choosing the right butternut squash also plays an essential role in the canning process. Firm squash with a hard rind and deep orange flesh are perfect for canning. Avoid squash with cuts, bruises, or signs of mold as these could lead to spoilage.
**H2: Preparing the Butternut Squash for Canning**
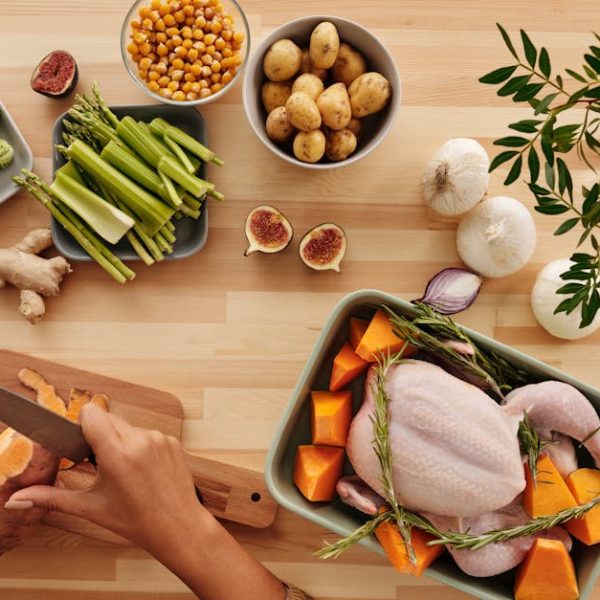
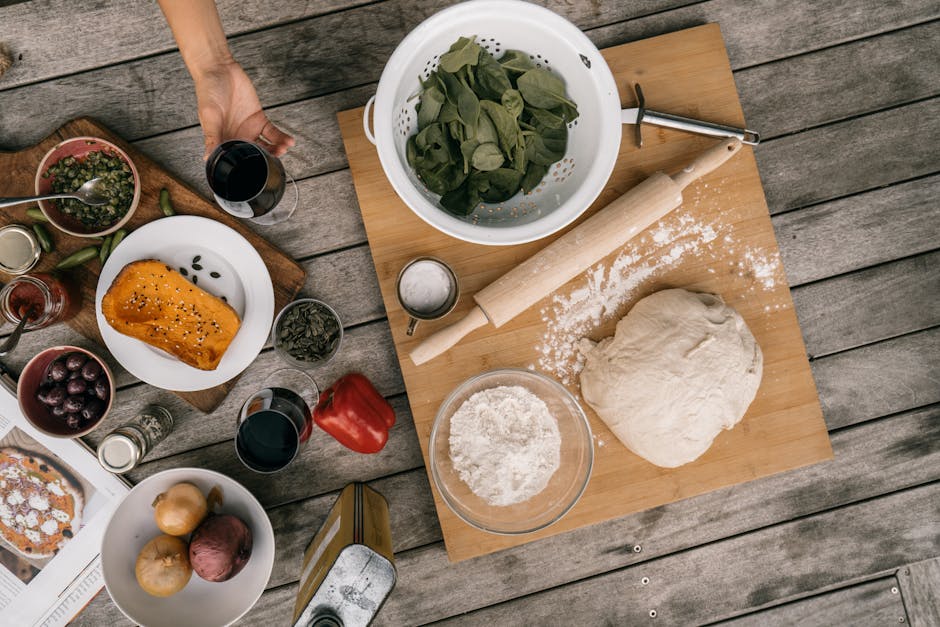
Proper preparation of butternut squash ensures you maintain its taste and nutritional value. This process entails cleaning, peeling, and chopping your vegetable into precise cubes.
Here’s a step-by-step process:
- First, rinse the butternut squash under running water to remove any dirt.
- Using a sharp peeler, remove the hard outer skin.
- Cut the squash in half and scoop out the seeds.
- Chop the squash into 1-inch cubes.
Now, it’s time to choose your canning method: pressure canning or water bath canning.
Pressure canning is the only safe method for canning low-acid foods like butternut squash. On the flip side, water bath canning is simpler but may not be safe for low-acid foods.
**H2: The Canning Process: Step-by-Step Guide**
The canning process may seem somewhat complex, but once you grasp its procedure, it’ll be as easy as pie. Here’s a quick checklist:
- Pack your prepared squash into clean jars.
- Cover the squash with boiling water, ensure you leave enough headspace.
- Wipe the jar rims clean, place the lids and screw bands.
- Place the jars in your canner and process as per manufacturer’s instructions.
- Once processed, turn off the heat and let jars cool.
- After they have cooled, check the seals to ensure they are tight.
- Labels the jars with the date of processing.
Remember, avoid reprocessing unsealed jars as it may lead to improper preservation. Always store them in the refrigerator and consume within 2-3 days.
**H2: Storing and Using Canned Butternut Squash**
Once your squash is successfully canned, storage becomes crucial. The recommended storage period for home-canned items is one year. However, this is extendable if stored in ideal conditions (dark, cool, and dry places).
Canned squash is incredibly versatile; you can use it for soups, purees, roasted dishes, and even desserts!
When comparing shelf life, fresh butternut squash will typically last 1-2 months, while canned butternut squash, if properly stored, can last up to a year.
**H2: Maintaining Safety while Canning Butternut Squash**
Safety cannot be overlooked when preserving food. It’s not just the quality of the food that’s at stake; your health is too. Remember the following:
- Always check for any discoloration, off smells, or changes in texture, both before and after canning squash.
- Make sure your utensils are sterilized.
- Pressure canners should be checked annually for safety.
- The jar lids should not be reused as they may not seal properly the second time.
With these pointers, you’re well on your way to becoming a pro at canning butternut squash. Happy Canning! **H1: Top Tips for Canning Butternut Squash: Store Food Easily with Your Canner**
Have you ever wished to enjoy butternut squash irrespective of the season? Well, canning is a time-tested method to help you do exactly that! It preserves the squash, all while maintaining its savory taste and health benefits. Mastery in canning squashes is an excellent skill addition to your cooking arsenal, and we’re ready to guide you through the process!
**H2: Understanding the Basics of Canning Butternut Squash**
Canning is an ingenious method that extends the shelf life of food items by preserving them in hermetically sealed containers. This method is particularly effective with butternut squash, ensuring that its unique taste and nourishing benefits remain intact.
For effective canning, you would require:
- Fresh Butternut Squash: Always go with newly harvested squashes for the best results.
- Canning Jars: These are specially designed glass jars with lids and rings.
- Canner: Either use a large pot or a pressure canner, depending on your chosen method.
- Accessories: Items such as a jar lifter, lid lifter and funnel can come handy
When selecting a butternut squash for canning, aim for fully ripened, hard-shelled squash with a uniform orange color. Discard any squash with blemishes, cuts, or signs of decay.
**H2: Preparing the Butternut Squash for Canning**
The entire taste and nutrition quotient of your canned butternut squash largely hinge on how well you prepare it. These preparations begin right from cleaning your squash to chopping it into small pieces.
Follow these steps to prepare your squash:
- Clean the squash thoroughly under running water.
- Use a peeler to remove the hard outer layer.
- Cut the squash into half and remove the seeds.
- Slice the prepared squash into 1-inch cubes.
In terms of canning, you have two options available: Pressure Canning and Water Bath Canning. While the former method is safer for low-acid foods like butternut squash, the latter is a less complex process.
**H2: The Canning Process: Step-by-Step Guide**
The canning process might seem intimidating initially, but it takes only a few successful sessions to get the hang of it.
Keep in mind the following steps:
- Fill the canning jars with the squash cubes.
- Now pour boiling water into the jars. Be sure to maintain a 1-inch headspace from the jar top.
- Remove air bubbles, wipe the rims, and fit the lids on the jars.
- Lower the jars into your canner and follow the manufacturer’s instructions for the canning process.
- Let the jars sit inside the canner to cool after the processing is complete.
- When cooled, remove the jars and check the seal’s tightness.
- Finally, label the jars with the date of processing. A critical Pro tip is to not REPROCESS unsealed jars as it might harm the food. Instead, store it in your refrigerator and consume it as soon as possible.
**H2: Storing and Using Canned Butternut Squash**
Once successfully canned, your butternut squash should ideally be stored in a dark, cool place and can remain edible for a year.
Canned squash is versatile, and you can include it in a variety of dishes, including stews, soups, purees, and even desserts.
In comparison, while a fresh butternut squash generally lasts for one to two months, canned squash, under ideal conditions, can last up to a year.
**H2: Maintaining Safety while Canning Butternut Squash**
Safety is paramount when it comes to food and canning is no exception. While your primary concern might be preserving the food’s quality, your health should be of utmost importance too. Here are some guidelines to ensure safe canning practices:
- Make a habit of checking the squash for signs of spoilage, like discoloration or an unpleasant smell.
- Your canning materials, including jars and lids, should all be sterilized.
- If you’re using a pressure canner, get it checked annually to ensure its safe usage.
- Once used, don’t reuse the jar lids as they can fail to give a proper seal the next time.
Being equipped with these tips and best practices, you’re now ready to try your hands at canning butternut squashes. With a little practice, you’ll soon enjoy delicious, home-canned squash all year round.
Key Takeaway:
- Canning is a viable solution for preserving and extending the shelf life of butternut squash without compromising its taste and nutritional values.
- Essential components for this process include fresh butternut squash, canning jars, canners, and various other tools.
- Proper preparation of the squash is fundamental, which includes steps such as cleaning, peeling, and chopping the vegetable.
- The canning process involves packing the squash into jars, covering with boiling water, sealing, and processing.
- The correct storage of canned squash is vital for maintaining its quality and usability. It can typically last up to a year when stored correctly.
- Safety precautions and measures are crucial during the canning process to maintain hygiene and avoid contamination.
Continue using these tips for canning butternut squash or any other produce. You’ll come to appreciate the convenience and satisfaction it brings. Remember, practice is key. Keep at it and you’ll soon master the art of canning!
FAQs
Q: Can I can other types of squash using these techniques?
A: Absolutely! You can use these canning techniques for other types of squash, such as acorn or spaghetti squash. Just ensure that the squash is ripe and fresh for the best results.
Q: Is using a pressure canner essential to can butternut squash?
A: Yes, using a pressure canner is essential because butternut squash is a low-acid food. Pressure canning ensures that all potential bacteria, yeasts, and fungi are killed to prevent spoilage of the stored food.
Q: Can I reuse the canning lids?
A: To maintain food safety, it is recommended not to reuse the canning lids. This is because once used, the lids may not seal properly the next time, leading to potential risks of contamination.
Q: How can I tell if my canned butternut squash has gone bad?
A: Signs of spoilage may include an off smell, discoloration, mold or a noticeable change in texture. Always inspect the canned squash before use to ensure it’s still safe to consume.
Q: Can I use the canned butternut squash immediately after canning?
A: You may want to let the jars of canned squash rest for a day or two to allow it to cool and the flavors to settle. But post the cooling period, you can undoubtedly use the canned squash in your recipes.
Don’t hesitate to explore more informative posts on our website and share this one with others who may find it helpful!