Growing cauliflowers can be supremely rewarding. Not only do they add charm to your garden with their white, fluffy heads, but they’re also a harvestable delight packed with nutrients. Key to successful cauliflower growth is proper nutrition, which often involves effective fertilization. This article unveils how to maximize yields by creating and administering your personalized DIY cauliflowers’ fertilizers.
Understanding the Need of Fertilizer for Cauliflower
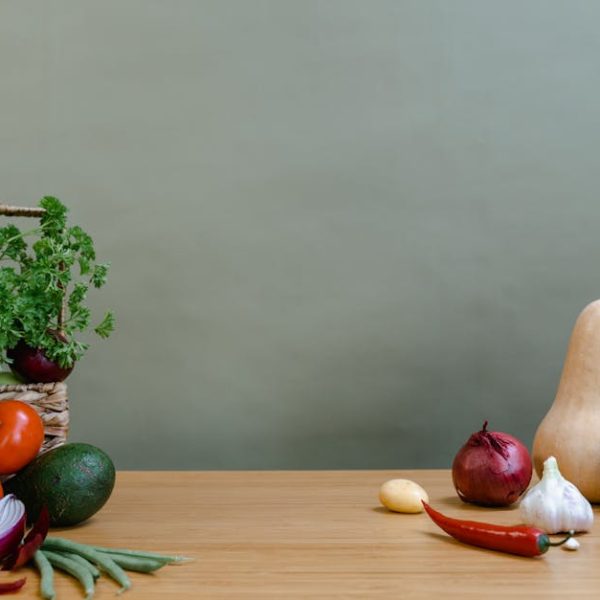
Cauliflowers, like us humans, have certain nutritional needs. A healthy cauliflower plant requires a balanced supply of essential nutrients such as nitrogen, phosphorus, potassium, calcium, and more. These nutrients aid in cell growth, energy production, and overall development, enhancing the plant’s ability to produce its edible, buttery white heads.
Here are the critical nutrients for cauliflower growth:
- Nitrogen: Enhances leaf growth and contributes to the vibrant green coloration .
- Phosphorus: Aids in energy transfer, and is critical for early root formation and growth.
- Potassium: Crucial for water regulation in the plant and promotes overall plant health.
- Calcium: Strengthens the plant’s structures and aids in nutrient absorption.
Pro Tip: Keep an eye out for signs of nutrient deficiency in your plants. Yellowing leaves, stunted growth, or failure to form heads may indicate lack of sufficient nutrients.
Creating Your Own DIY Fertilizer for Cauliflower
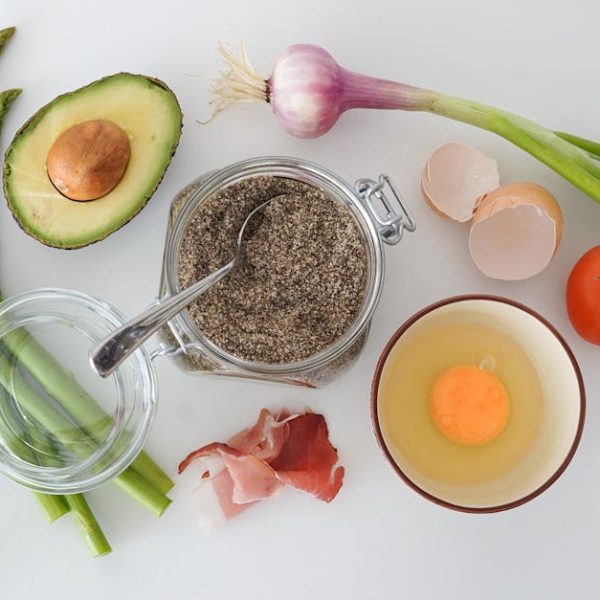
Crafting your cauliflower’s fertilizer can be not only economical but also ecological. Composting organic waste—like coffee grounds, veggie scraps, eggshells, or banana peels—can generate a nutrient-rich fertilizer that your cauliflowers will love.
Pro Tip: To make the best out of these items, make sure you’re properly composting them. An effective composting process requires a balanced mixture of ‘green’ and ‘brown’ materials, and periodic turning for aeration.
Here’s a quick guideline to start your compost:
- Choose a shaded, dry spot for your compost pile or bin.
- Layer the bottom with a few inches of twigs or straw for drainage.
- Add alternating layers of green and brown materials.
- Turn the compost pile every couple of weeks with a pitchfork or shovel.
- Your compost is ready when it turns dark and has an earthy smell.
The Art of Properly Applying Fertilizer to Cauliflower
Knowing how to apply your DIY fertilizer optimally is essential for healthy cauliflowers. The right application ensures plants have adequate access to the necessary nutrients, promoting proper growth and a satisfactory harvest.
Here are some essential steps:
- Before planting, mix compost into the soil.
- Once the plants have established, apply a layer of compost around the base of each plant, taking care to avoid direct contact with the stems.
- Water the plants thoroughly after each compost application.
Best Practices: It’s always beneficial to test your soil before boosting it with fertilizer. This will offer insight into its nutrient levels and pH, helping you adjust the fertilizing plan accordingly. It is also advisable to maintain a consistent application schedule for optimal plant health.
Monitoring the Effectiveness of the Applied Fertilizer
Constant vigilance is key once you’ve applied your DIY fertilizer. By closely monitoring your plants, you’ll be able to spot any changes in their growth and health due to the fertilizer treatments.
Here are signs of positive responses from your cauliflower:
- Improved leaf color: Your leaves should be a vibrant green.
- Stronger stems: The plant’s stem should feel sturdy and robust.
- Larger and healthier heads: You’ll notice the cauliflower heads growing bigger and looking healthier.
Pro Tip: Based on these plant responses, feel free to adjust the application of your DIY fertilizer. If there are still signs of nutrient deficiencies, consider increasing the amount or frequency of application. On the contrary, if the plant seems to be growing very well, you may choose to reduce the frequency.
Natural Alternatives to Fertilizing Cauliflower
Apart from DIY composting, other natural practices can enhance your cauliflower’s health and growth. Techniques like mulching help retain soil moisture, while companion planting can deter pests and promote nutrient exchange.
Let’s compare some of these practices with traditional fertilizing strategies:
| DIY Compost | Mulching | Companion Planting | |
|---|---|---|---|
| Pros | Reduces waste, improves soil structure | Conserves water, suppresses weeds | Deters pests, promotes healthy ecosystem |
| Cons | Requires time and effort, may attract pests | Can ‘tie up’ nitrogen in soil | Must choose compatible plants, requires additional garden space |
Pro Tip: Consider combining these natural practices. Using a mixture of DIY compost, mulching, and companion planting will cover a diverse range of nutritional needs, giving your cauliflowers the best chance to thrive.
Fertilizing cauliflower needn’t be complex or daunting. With these DIY recipes and tips, you’ll be well prepared to provide your plants the nutrition they crave. Looking after your cauliflowers can be a zen-like journey in itself, with your harvest being the delicious destination. So, roll up your sleeves and let your green thumb take charge.
Key Takeaway:
- Cauliflowers need essential nutrients such as nitrogen, phosphorus, potassium, and calcium for healthy growth.
- DIY organic fertilizer using household items like eggshells, banana peels, and coffee grounds can offer an economical solution for cauliflower fertilization.
- Proper application of fertilizer, including avoiding direct contact with plant stems and providing adequate watering post-application, is crucial.
- Regular monitoring of the cauliflower’s response to applied fertilizer is necessary, with adjustments made based on the observed plant response.
- Combining DIY fertilizer with natural alternatives like mulching or companion planting can provide maximum benefits.
The journey of growing your cauliflowers can be a rewarding experience. With the right knowledge and the willingness to learn, you can foster robust, healthy plants and enjoy a bountiful harvest. Remember that patience and persistence are key. Happy gardening!
FAQs
Q: Can used coffee grounds be directly used as a fertilizer?
A: Yes, after they’ve cooled down, coffee grounds can be directly mixed into the soil. They add organic material to the soil, improving water retention, aeration, and soil fertility.
Q: How often should I fertilize cauliflower?
A: Frequency of fertilization depends on various factors, including the quality of your soil and the type of fertilizer used. However, a good rule of thumb is to fertilize every two to four weeks.
Q: Are there any store-bought organic fertilizers suitable for cauliflowers?
A: Yes, there are several organic fertilizers available in stores that are specifically designed for vegetables like cauliflower. These usually contain a balanced mix of essential nutrients.
Q: Can I over-fertilize my cauliflower plants?
A: Yes, over-fertilizing can be just as detrimental as under-fertilizing. It can lead to too much salt buildup in the soil, burnt roots, and overall poorer plant health.
Q: Besides coffee grounds, eggshells, and banana peels, what other household items can be composted for cauliflowers?
A: Other compostable items include vegetable peels, fruit scraps, tea bags, grass cuttings, dried leaves, and small amounts of shredded newspaper. Avoid meat, dairy, and diseased plants.
Please feel free to share this article with fellow gardening enthusiasts and explore more posts on our website.