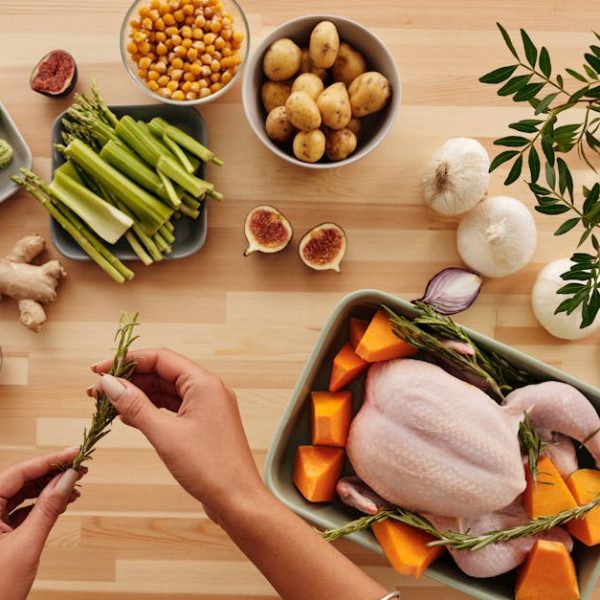
Before diving into the process of making your own Sherry Vinegar, it’s important to first get a clear understanding of what Sherry Vinegar is. Originating from Spain, Sherry Vinegar is a type of vinegar made from Sherry wine. It boasts a unique taste profile that’s a harmonious blend of sweet and sour, often with hints of dried fruit, wood, and nuts.
When it comes to cooking, Sherry Vinegar has a distinct ability to elevate certain dishes. Especially in Spanish cuisine, it’s often used for dressings, marinades, and deglazing, imparting a subtle richness of flavor that’s hard to replicate with other types of vinegar.
Pro Tip: One crucial factor in successful Sherry Vinegar preparation is the quality of Sherry used. Opt for a Sherry that’s rich and full-bodied for a flavor-packed vinegar.
Here are just a few dishes that shine brighter with a splash of Sherry Vinegar: Gazpacho, lentil stew, garlic shrimp, green salads, and sautéed mushrooms.
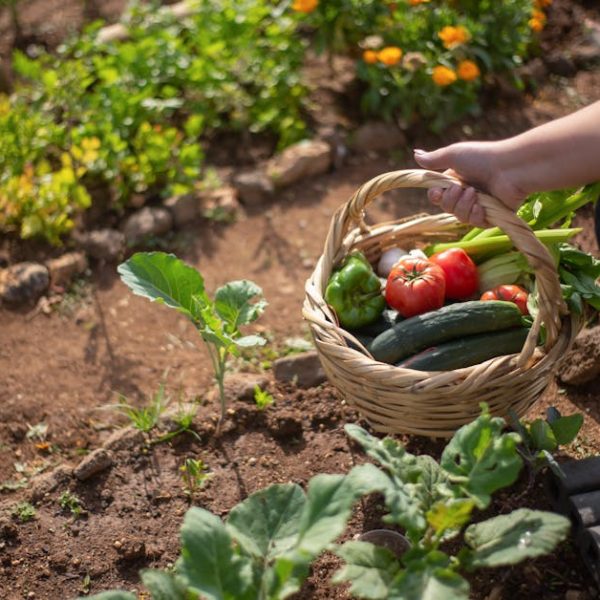
Through to the next step, let’s look into what we need for preparing Sherry Vinegar at home. At its most basic, you’ll need just three ingredients: Sherry wine, mother of vinegar or unpasteurized vinegar, and water. The mother is a combination of cellulose and acetic acid bacteria that turns alcohol into vinegar.
Checklist:
- Quality Sherry Wine
- Mother of Vinegar or unpasteurized vinegar
- Distilled Water
- Glass or Ceramic Container
- Cheesecloth
It’s worth pointing out that finding a quality Sherry isn’t as hard as it may seem. Many wine shops and even supermarkets carry a decent selection. As for the mother of vinegar, it can be found in most health food stores.
Making Sherry Vinegar at home primarily involves the fermentation process. This process that turns the alcohol in Sherry into acetic acid is facilitated by the mother of vinegar. Depending on the temperature and conditions, this process can take anywhere from a few weeks to a couple of months.
Steps:
- Mix the Sherry and water in a glass or ceramic container.
- Add the mother of vinegar.
- Cover the container with a cheesecloth.
- Place the container in a warm, dark place.
- Wait for the magic to happen.
Throughout the fermentation process, it is essential to maintain proper conditions for successful vinegar production. Keep the fermentation container in a warm place, ideally at a stable temperature of around 70-75°F (21-24°C). Furthermore, avoid disturbing the container during fermentation. The mother needs a stable environment to do its work.
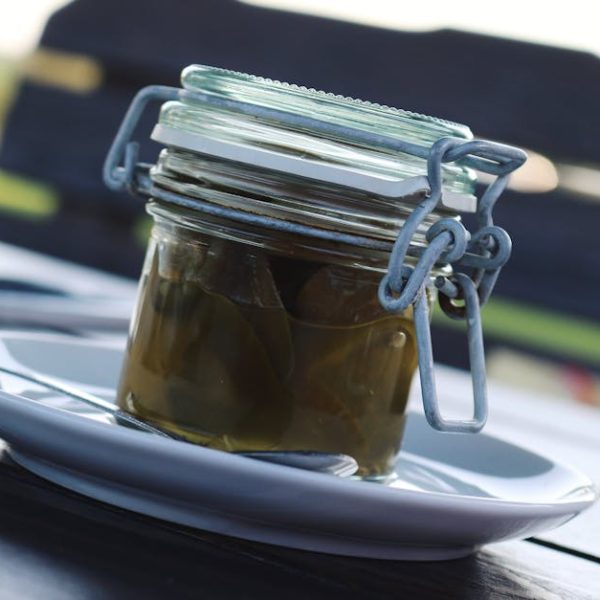
Pro Tip: If a thin, gelatinous layer forms at the top of your container, don’t panic! It’s just a sign that the mother is doing its job. Don’t stir or move the vinegar, let the process take its course! After the vinegar has formed to your liking, it can be stored and used in your cooking. Proper storage of your Sherry Vinegar will actually allow the flavor to develop and deepen over time. Ideally, vinegar should be stored in a cool, dark place away from direct sunlight, much like wine. A tightly-sealed glass or ceramic container is the best choice.
In your kitchen, Sherry Vinegar can add a delightful splash of flavor. Try using it to deglaze pans after sautéing meats or vegetables, in marinades for a daring kick, or to enhance the flavors in soups and stews. It’s also excellent for creating tangy vinaigrettes for salads or dipping breads.
Pro Tip: Sherry Vinegar goes particularly well with dishes that have a hint of sweetness, like caramelized onions or roasted vegetables.
Now, let’s compare homemade Sherry Vinegar to commercial varieties.
| Factors | Homemade Sherry Vinegar | Commercially Produced Sherry Vinegar |
|---|---|---|
| Taste | Can be customized based on the Sherry wine used and fermentation time. | Consistent but limited to what’s available in the market. |
| Cost | Initial costs may be higher, but you have the freedom to make as much vinegar as needed from the Sherry wine. | Less expensive upfront but might necessitate buying multiple bottles for larger recipes. |
| Health Benefits | Generally purer, containing no preservatives or additives and packed with probiotics from the mother of vinegar. | May contain additives and less probiotics, depending on the brand. |
Based on taste, cost, and time constraints, your preference to make your own Sherry Vinegar or buy a bottle at the store may fluctuate. For instance, if you have a found taste for a specific kind of Sherry Wine, making vinegar at home may give you unmatched satisfaction. On the other hand, if time is a strain, commercially produced Sherry Vinegar can save you from the wait of the fermentation process.
Making Sherry Vinegar at home can be a rewarding process. You can achieve a depth of flavor hard to find in commercially available vinegars, it’s a healthier option, and preparing it allows you to add a personal touch to your dishes. Plus, it’s an excellent way to make use of leftover Sherry wine. So why not give it a try?
Happy Fermenting!
Key Takeaway:
- Sherry vinegar, originated from Spain, is made from Sherry wine and has a unique taste profile that enhances certain dishes.
- The quality of Sherry wine used is crucial for successful preparation of Sherry vinegar.
- It primarily requires three ingredients – Sherry wine, mother of vinegar or unpasteurized vinegar, and water for fermentation.
- Maintaining optimal conditions is key to the successful fermentation of Sherry vinegar.
- For storage, Sherry vinegar is ideally kept in a cool, dark place in a tightly-sealed glass or ceramic container.
- While homemade Sherry vinegar offers personal flavor customization, commercial varieties offer consistent taste and ease of accessibility.
In the journey of making your own Sherry vinegar at home, remember that patience is key. The fermentation process might test your patience, but the end result – a uniquely flavored vinegar that you have created – would surely be worth the wait. Don’t forget to experiment with using your homemade Sherry vinegar to enrich your dishes with its delightful taste. Here’s wishing you the very best on your fermentation journey!
FAQs
Q: How can I identify if the Sherry vinegar fermentation process has been successful?
A: If a thin, gelatinous layer forms on the top of your container during the process, it signifies that the ‘mother’ is doing its job and the vinegar is fermenting well.
Q: Can I use homemade Sherry vinegar immediately after fermentation?
A: Certainly! But remember, proper storage of Sherry vinegar allows the flavor to further develop and deepen over time.
Q: Can any type of Sherry wine be used to make Sherry vinegar?
A: Yes. However, for a richer and denser flavor, it is advisable to use full-bodied Sherry.
Q: What are the health benefits of homemade Sherry vinegar compared to commercial ones?
A: Homemade Sherry vinegar generally contains no preservatives or additives and is packed with probiotics from the mother of vinegar which is beneficial for digestive health.
Q: Can Sherry vinegar be used as a substitute for other types of vinegar in cooking?
A: Yes, but it should be noted that Sherry vinegar has its own unique taste, so the flavor profile of your dish may change.
Enjoyed learning about making Sherry vinegar at home? Don’t forget to share this article with fellow DIY enthusiasts and check out other exciting content on our website!