Preserving fresh pears via canning is a fantastic way to maximize your harvest and enjoy this juicy fruit year-round. It’s an art steeped in tradition, offering sweet, home-canned pears that are convenient for quick, healthy desserts and gifts for loved ones. In this article, we take you through every step of this simple yet rewarding process, offering best practices, pro tips, and detailed comparisons for both beginners and experienced canning aficionados.
Selecting and Preparing the Pears
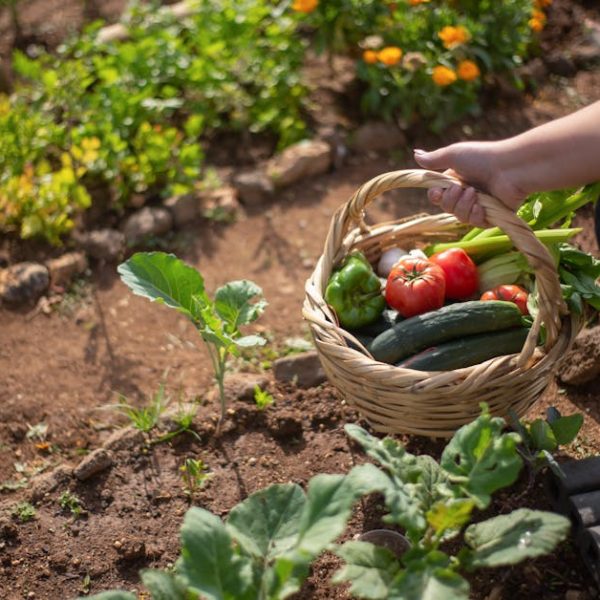
The success of any canning project begins with the quality of fruit you choose. For pears, you’ll want to select ripe, firm fruits — overripe pears can lead to mushy preserves with a subpar taste. Ensure the pears you pick are free of any blemishes, bruises or insect damage.
✔️ Checklist: Features of a Perfect Pear for Canning
- Firm to touch, but not hard
- Even, yellow color
- Fresh, sweet scent
- Free from blemishes or insect damage
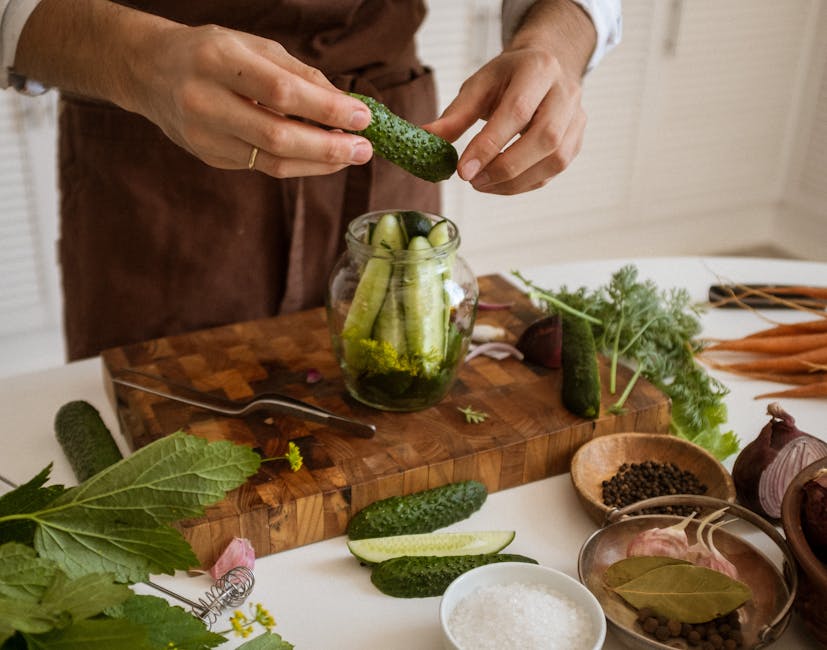
When preparing your pears, cleanliness is paramount. Rinse them carefully under cold water to remove any dirt or debris. Following this, peel the pears, removing any dark spots and the core. Remember, you can choose to can them whole or cut into halves for variation.
Understanding the Basic Canning Supplies
Equipping yourself with the right supplies is essential for a successful canning venture — it is, indeed, half the battle won. A basic canning kit should include canning jars with lids and bands, a jar lifter, a funnel, and a pot large enough to completely submerge your canning jars. These tools not only aid in the process but also ensure the safety and longevity of your canned pears.
⭐ Pro Tip: Invest in stainless steel canning tools for their durability and ease of sterilization. Don’t cut corners with subpar equipment, as this could jeopardize both your safety and the success of your canning project!
Studying the Canning Process
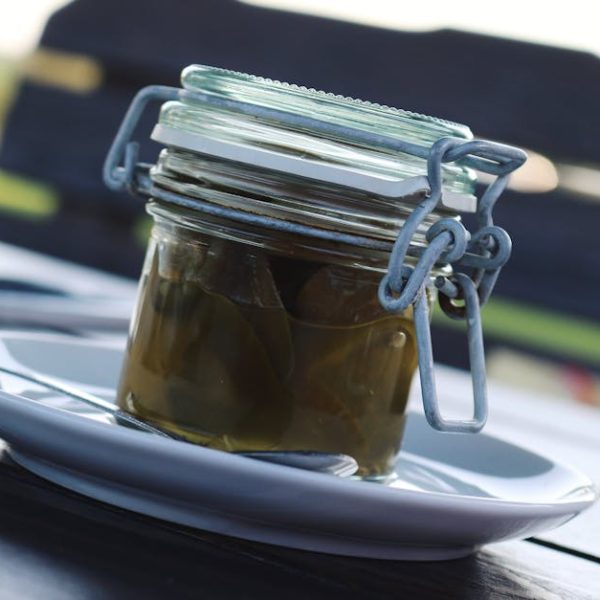
It’s crucial to understand that canning is a scientific process that requires strict adherence to best practices to guarantee safety and quality. The canning process involves placing food in jars and heating them to kill microorganisms that cause food to spoil. When sealed, these jars form a vacuum that further safeguards the food from spoiling.
Comparing water bath canning to pressure canning is similar to comparing apples and oranges. Both methods have their pros and cons, but when canning pears, a water bath canner is your best bet due to the fruit’s high acidity levels.
⭐ Pro Tip: Regardless of whether you are new to canning or a seasoned pro, always remember to pay attention to the technical side of the canning process. This includes following the correct processing times, understanding the importance of sterilization, and knowing the risks associated with deviating from the process.
Preserving Pears: The Canning Procedure
Armed with knowledge and equipped with the right tools, it’s now time to transform your pears into ambrosial preserves. Follow these steps carefully to ensure a successful outcome:
- Preheat your jars in simmering water (~180°F) for 10 minutes minimum.
- Boil the pear pieces (or whole pears if you prefer) for 5 minutes in syrup or water.
- Use the jar lifter to remove the jars from the simmering water, allowing excess water to drip.
- Fill the jars with the hot pears and syrup leaving about a half-inch of headspace.
- Remove air bubbles and adjust the headspace if needed.
- Wipe the jar rims and apply lids.
- Process the jars in a water bath canner for the recommended time.
Best Practices: Always prioritize safety in the canning process. Keep your work area clean, use jar lifters when handling hot jars, and stick to recommended processing times.
Maintaining Quality and Storage of Canned Pears
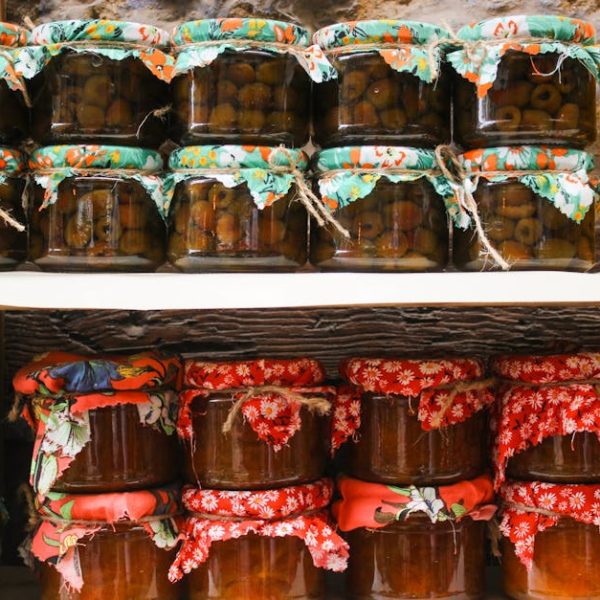
Once your pears are canned, correct storage is your next essential step for long-lasting, high-quality preserves. Store your jars in a cool, dark place — optimum temperature being below 70°F. By maintaining consistent storage conditions, your canned pears should have a shelf life of about one year, although they often can last longer if properly maintained.
✔️ Checklist: Ideal Storage Conditions for Canned Pears
- Cool and dark location
- Consistent temperature below 70°F
- Jars should be stored upright
- Check seals periodically for tightness and signs of spoilage
One way to determine signs of spoilage is to look for a change in color, smell, or leaking jars. If the canned pears look suspicious in any way, it’s better to be safe and discard them.
⭐ Pro Tip: To extend the life of canned pears, consider storing them in a cellar or basement — these are often the perfect conditions!
Armed with knowledge, tools, and enthusiasm, canning fresh pears at home can be a joyous task. You’ll reap the sweet rewards of your hard work throughout the year and perhaps even share a taste of summer’s bounty with loved ones. Happy canning!
Key Takeaway:
- Selecting fully ripe, firm, and undamaged pears is imperative for successful canning.
- Appropriate canning supplies are crucial; stainless steel tools are recommended for their durability and ease of sterilization.
- Understanding the canning process, especially sterilization and adherence to processing times, is vital.
- The canning procedure outlined step by step helps assure a successful canning experience.
- Proper storage preserves the quality of the canned pears and extends their shelf life.
Nothing beats the satisfaction of savoring home-canned pears in the chill of winter months, reminding you of the sun-kissed fruits of summer. With close attention to selection, preparation, and preservation, canning pears can be a rewarding experience. Continue exploring the joy of at-home preservation, and remember – good things come in canned packages!
FAQs
Q: How do I know when pears are ripe enough for canning?
A: Ripe pears should be firm to touch but not hard, have an even, yellow color, and emit a fresh, sweet scent. They should also be free from any blemishes or insect damage.
Q: Why do I need to sterilize the jars before canning?
A: Sterilization helps remove any pesky microorganisms that might dwell in the jars. This is important to prevent your canned pears from spoiling and ensure they are safe to consume.
Q: Can I use any large pot for a water bath canning procedure?
A: Yes, you can use any large pot. The canning jars should be completely submerged in the water, so make sure your pot is deep enough.
Q: Can I can pears without adding sugar or syrup?
A: Yes, you can can pears in just water or fruit juice. However, syrups often help maintain the fruit’s shape, color, and flavor.
Q: How should I handle jars of canned pears once they have cooled?
A: Once cooled, check the jars for proper sealing. Store them upright in a cool, dark place with a consistent temperature below 70°F. Check the seals periodically for tightness and signs of spoilage.
Feel free to share this article with your friends and family who might be interested in canning fresh pears. Explore more posts on our website to discover other interesting home preservation techniques. Happy canning!