Flavorful, sweet, and rich – these are the qualities that make peaches an all-time favorite fruit. But what happens when you have more peaches than you can eat or share? The answer lies in mastering the art of home canning: a time-tested method that allows you to conserve the deliciousness of peaches for a longer duration.
Understanding the Basics of Home Canning
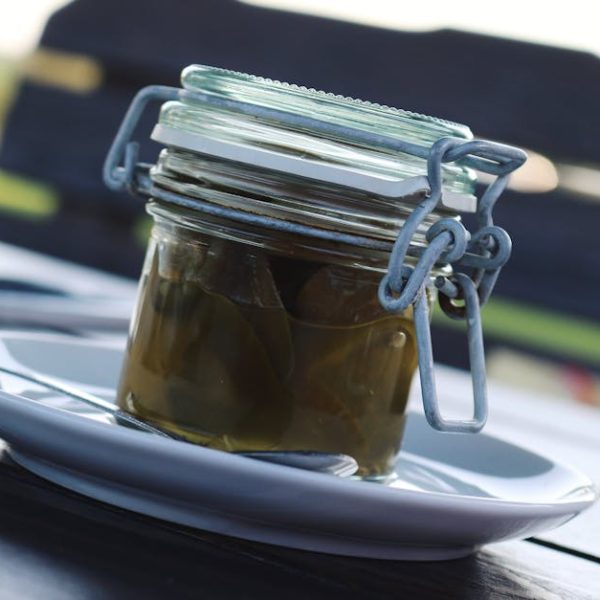
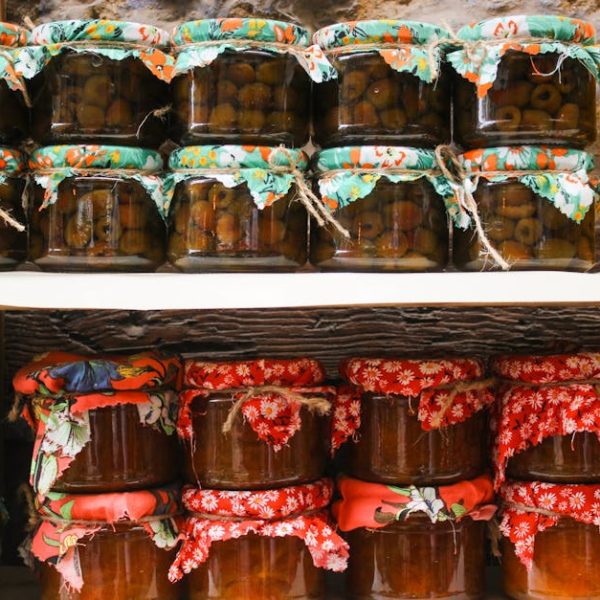
Home canning, simply put, is a process where food, in this case, peaches, is prepared, packed into jars, and then heated to kill microorganisms and halt enzymes that might spoil the food. It’s an essential technique that dates back to the Napoleonic era and still holds massive significance.
The beauty of home canning comes with its various benefits, such as preserving seasonal foods to enjoy throughout the year, lowering grocery bills, controlling ingredients, and minimizing waste. However, the crux of home canning lies in sterilization. It’s all about heating food to a temperature that destroys harmful organisms such as yeasts, molds, and bacteria that could otherwise cause the food to spoil.
– Principles of Canning: Preparation, Jarring, and Heat treatment.
– Potential Culprits: Yeasts, Molds, and Bacteria.
– Did You Know? Napoleon Bonaparte initiated the concept of canning to preserve food for his soldiers during war times.
Choosing the Right Peaches for Canning
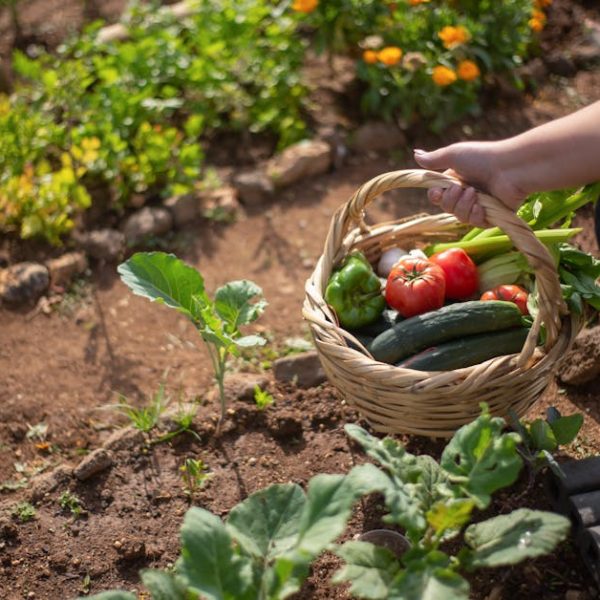
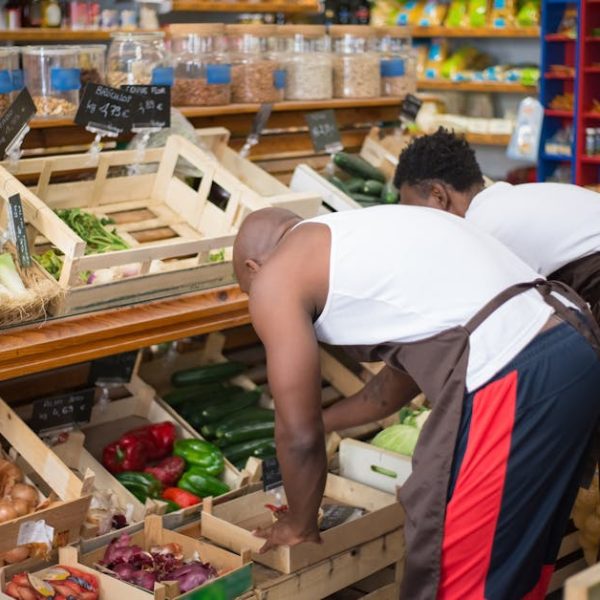
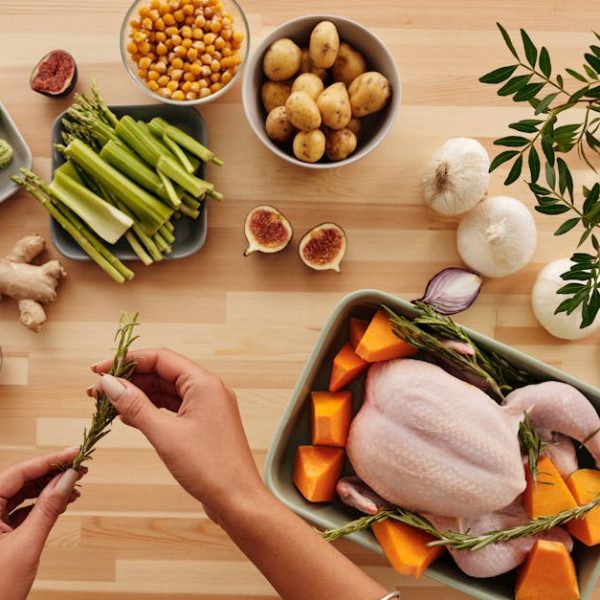
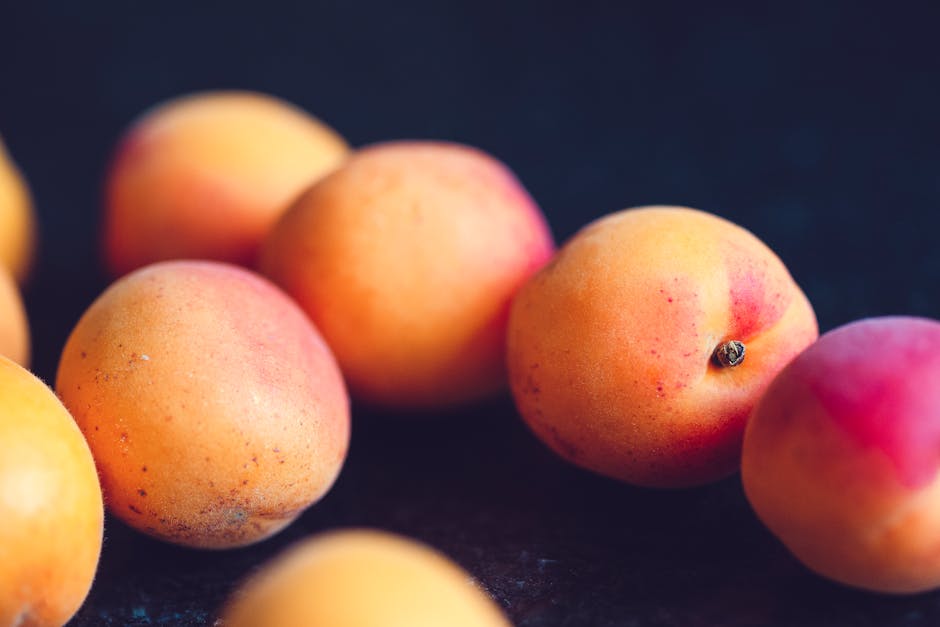
Whether you’re a seasoned homesteader or a canning rookie, selecting the right peaches can make the difference between a flavorful conserve and a mediocre one. Ideally, fresh, ripe, but firm peaches make the best preserves.
Contrary to popular belief, home-canned peaches often taste far superior to the store-bought counterparts. Why? Because home canning allows you to control the sweetness, texture, and overall flavor profile of your preserved peaches, which is typically not the case with commercial products.
– Checklist: Firm yet ripe, free from blemishes, naturally sweet.
– Pros and Cons: Yellow peaches are sweeter but bruise easily, while white peaches are sturdy but less sweet.
Must-Have Supplies for Home Canning Peaches
Home canning requires a few basic supplies to get started. At the core of these is the canner. Good quality canners are integral to the canning process as they facilitate even heat distribution, ensuring the preservation process is both efficient and safe.
Additional items like quality glass jars and lids, jar lifters, and a wide-mouth funnel are also part of the basic canning arsenal. These tools ensure a smooth canning process, protect against potential burns, and make the process less messy.
– Canning Equipment List: A Canner, Glass jars, Lids, Jar lifter, Wide Mouth Funnel, and Proper heat source.
– Pro Tip: Quality equipment can be sourced from farmer markets, online platforms, or local kitchen supply stores. For maintenance, always clean and dry thoroughly after use.
This captures the essentials of the ins and outs of home canning, right from the basics, the right selection of peaches, and the necessary canning supplies. Now we delve into the actual process of canning peaches at home, the potential pitfalls, and how these can be avoided. True mastery lies just words away!
Step-By-Step Guide to Canning Peaches at Home
Canning peaches at home may seem intense, but it’s really just a matter of patience and precision. Follow these steps, and you’ll soon be able to see the fruits of your labor – literally!
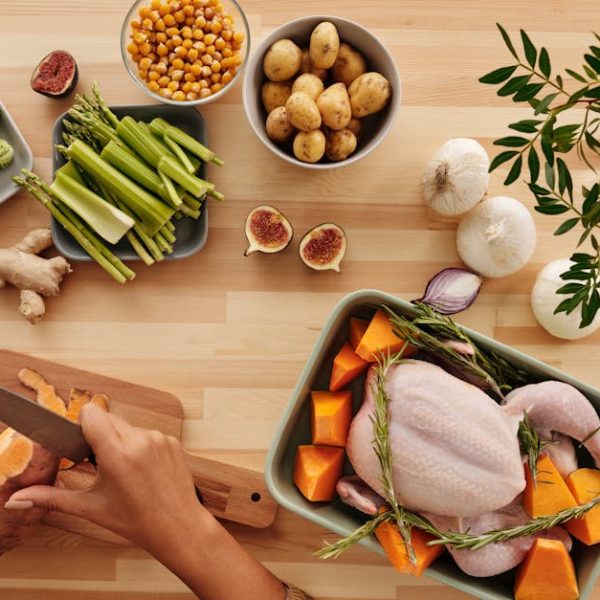
- Start with preparing your peaches. Blanch the peaches in boiling water for about 60 seconds and then plunge them into cold water. This will make peeling them much easier. Gently slice the peeled peaches into halves or quarters, depending on your preference.
- As you cut your peaches, you might want to prevent them from browning. To do this, you can dip them in a mixture of water and a little lemon juice.
- While preparing your peaches, sterilize your jars and lids. This can be done by boiling them for about ten minutes.
- Pack your peaches in the jars tightly, leaving about an inch of headspace. Add your canning fluid, which could be syrup, juice, or even water.
- Release any air bubbles by running a plastic or wooden utensil around the inside of the jar.
- Wipe the rim of your jar, place the lid, and screw on the band until it is fingertip tight.
- Process your jars in the canner for the appropriate amount of time. Your processing time and pressure will rely on the recipe you’re following, so be sure to adjust it accordingly.
- Once done, remove your jars using a jar lifter and let them cool for about 12-24 hours.
- Finally, test your seals. Successful sealing ensures a vacuum within the jar, which locks in freshness and flavor. Unsealed jars should be refrigerated and consumed within a few days.
– Best Practices: Always quality check your peaches, ensure proper sterilization, adhere to the processing times and pressures.
– Checklist: Selection, Preparation, Filling, Sealing, Processing, and Testing.
Mistakes to Avoid While Canning Peaches at Home
While home canning peaches is a fabulous way to savor their rich, sweet flavor, avoiding the common pitfalls is crucial. One common mistake people make while canning peaches at home is over-packing or under-filling the jars. This might affect the heat distribution and ultimately the preservation process.
Another mistake to avoid is opting for sticky or sugary syrups over natural, lighter juices. This not only compromises the natural flavor of the peaches but can also mess up the canning process.
Additionally, neglecting the need for sterilization and ignoring a faulty seal could lead to spoilage and even health risks, such as botulism.
– Common Mistakes: Overpacking, underfilling, using overly sweet syrups, neglecting sterilization, and ignoring a faulty seal.
– Correct vs Incorrect: Right-to-the-point, more natural juice, adequate sterilization, and uncompromised sealing versus overloaded, sugary syrup, neglected sterilization, and compromised sealing.
– Pro Tip: Always take the time to correct mistakes instead of rushing to get the job done. Speed is never a substitute for safety and quality when it comes to home canning.
Home canning peaches is not just about preserving a fruit; it’s about capturing the essence of summer in a jar. So, here’s hoping you cherish every peachy bite, knowing it’s not just a fruit, but a labor of love that rests within those jarred walls!
Key Takeaway:
- Home canning is a practical, economical method preserving peaches for later consumption.
- Sterilization is crucial in home canning to destroy microorganisms that may cause spoilage.
- The choice of peaches for canning impacts the flavor of the final product, with ripe, firm peaches considered ideal.
- Basic canning supplies such as a good quality Canner, glass jars, lids, jar lifter, and wide-mouth funnel are essential for home canning.
- Canning peaches involve steps from preparation to sealing, all demanding precision and patience.
- Common mistakes during home canning like overpacking jars, using overly sweet syrups, and neglecting sterilization can affect the quality and safety of canned peaches.
As you embark on this journey of learning the art of home canning, remember that every step is an opportunity to master this skill. With the right selection of peaches, proper equipment, and attention to sterilization, you’ll soon be making deliciously preserved peaches at home. Let the aroma of fresh peaches and the satisfaction of a job well done fill your kitchen.
FAQs
Q: Can home-canned food, like peaches, last as long as commercially canned food?
A: When properly canned and stored, home-canned peaches can last anywhere from one to two years, although for the best quality and nutritional value, it’s advisable to consume them within a year.
Q: Can I use overripe peaches for canning?
A: Ideally ripe, firm peaches work best for canning, as overripe peaches can become mushy and lose their natural texture during the canning process.
Q: How do I know if my canned peaches have spoiled?
A: Signs of spoiled canned peaches can include bulging lids, leaking, bad odor, or changes in color, texture, and taste. It’s always safest to discard any canned peaches that show these signals.
Q: Can I use plastic containers for home canning?
A: Glass jars are recommended for home canning as they are heat-resistant and don’t interact with the food, preserving its quality and flavor.
Q: Is the canning process different for other fruits?
A: While the basic principles of canning remain the same, the canning process might vary slightly depending on the type of fruit, its acidity level, and texture. Always refer to a trusted canning guide for specifics.
Don’t forget to share this article with fellow peach lovers and explore more posts on our website for your culinary adventures.