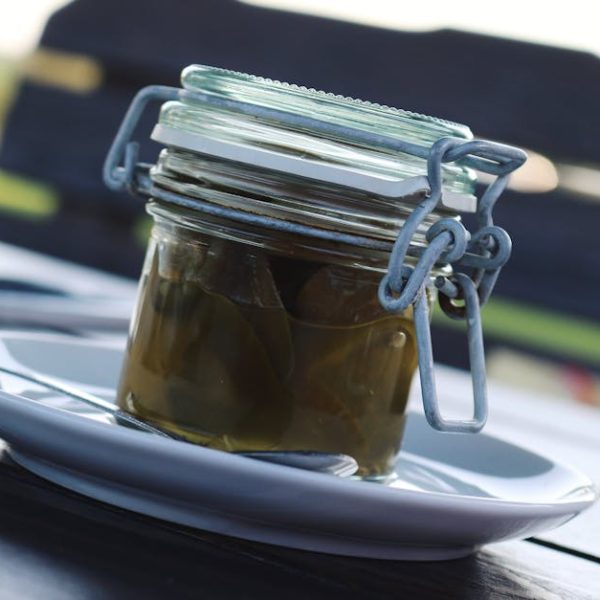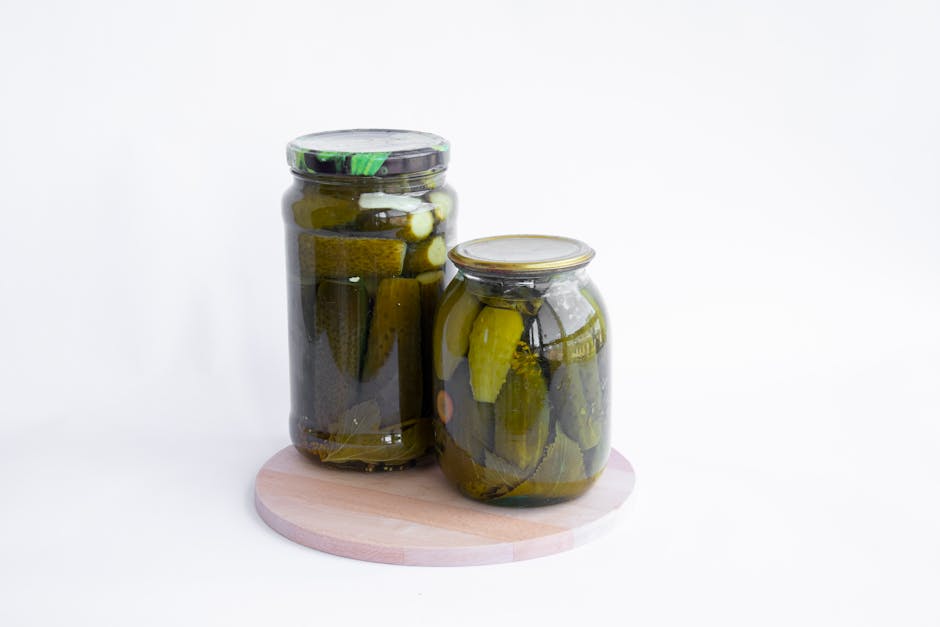
In the quest of reaping the maximum nutrition from the earth’s bounty, man discovered the craft of canning. Vegetable canning is a method of preserving vegetables in a sealed environment, in which its freshness and nutritional value are maintained for a much longer period than usual. It involves putting vegetables into jars and sealing them by heating, thereby creating a vacuum. This process not only preserves the vegetables but also heightens the flavor, making it a healthy choice to stock your pantry.
Notably, the freshness of the vegetables significantly influences the final outcome of canning. Fresh, unspoiled vegetables make the best contender for canning. Similarly, sterilization of your equipment — jars, lids, and other utensils — plays an essential role ensuring the safety and longevity of the canned vegetables.
Selecting the Right Equipment for Vegetable Canning
Venturing into the art of canning requires the right set of tools. The basics include jars, lids, a canner, a funnel, a jar lifter amongst other things. Here is a checklist for a perfect vegetable canning session:
- Canning jars: These come in different sizes, so choose according to your need.
- Two-piece lids: One part is the flat lid with a sealing compound; the second part is a metal band that secures the lid during processing and storage.
- Canner: Either a boiling water canner for high-acid foods, or a pressure canner for low-acid foods.
- Jar funnel: Helps in filling the jars neatly.
- Jar lifter: Safely moves hot jars in and out of the canner.
A key decision you will make during this process is whether to use a pressure canner or a water bath canner. Both are good options, but they come with their own set of pros and cons:
| Pressure Canning | Water Bath Canning | |
|---|---|---|
| Pros | Faster | Easier and cheaper |
| Cons | More expensive | Slower |
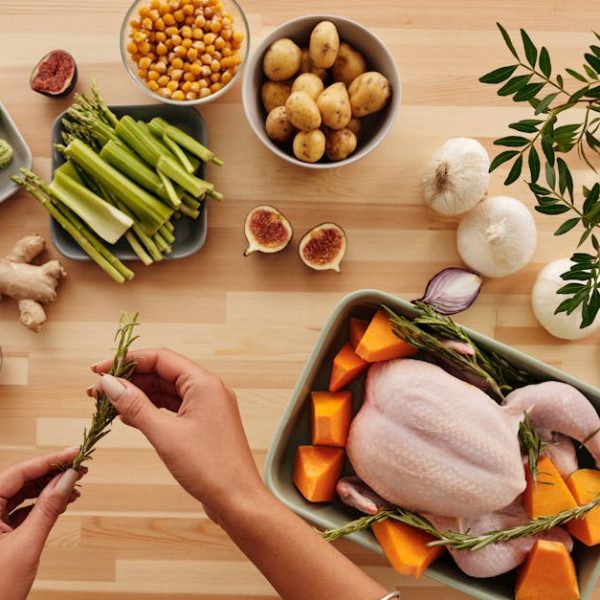
Preparing the Vegetables for Canning
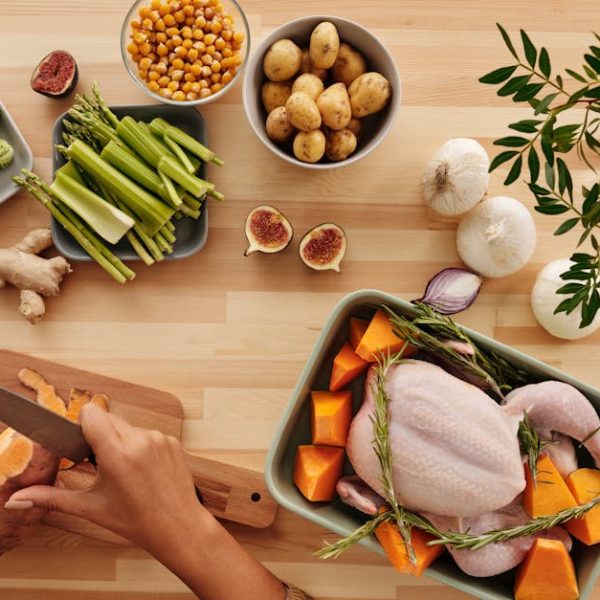
Jumping right into the canning process without properly preparing your vegetables can result in a disappointing final product. The goal is to ensure vegetables are clean, cut uniformly, and free from spots, bruises or signs of decay.
Pro Tip: Blanching is a technique where you briefly boil vegetables before immersing them in cold water. This not only makes it easier to peel certain vegetables, but also fixes the vibrant color of the vegetable, giving your canned goods a visually pleasing look.
Common mistakes to avoid while preparing vegetables for canning include overcooking, not removing dirt and insects, and stuffing too many vegetables into one jar.
The Canning Process: From Filling Jars to Processing
Canning is an intricate process that involves multiple steps. From filling jars to processing, each step must be performed with precision to ensure great results.
Pro Tip: To avoid altering the texture or flavor of your canned vegetables, steer clear of overfilling the jars. Leaving some headspace is key to ensuring your jars seal properly in the processing stage.
The jars must be processed in the canner for the correct amount of time, the specifics of which will be dictated by the recipe you’re following. This is key in eliminating any microorganisms that could lead to spoilage.
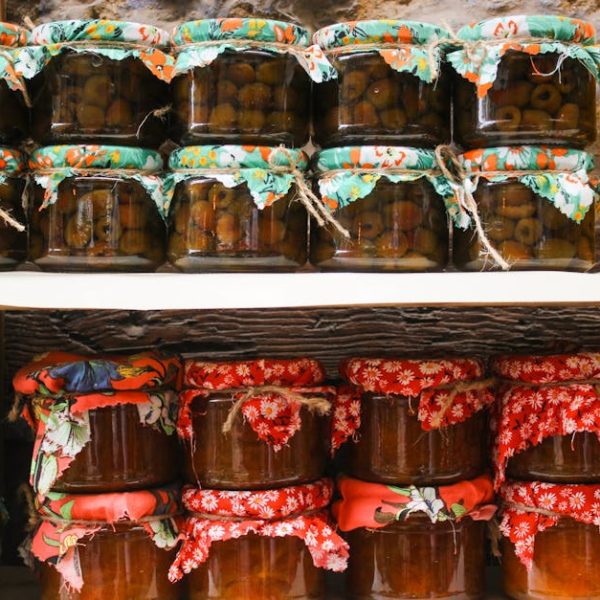
Maintaining Quality and Safety of Canned Vegetables
The work doesn’t stop at processing the jars; maintaining the quality and safety of the your canned vegetables is equally essential. Cooked correctly and kept in a cool, dark place, a jar of canned vegetables can maintain its quality for up to a year.
Best Practice: Regularly inspect your canned vegetables, especially before consuming, to spot any signs of spoilage or contamination early. This includes changes in color, smell, or formation of mold.
Common issues you might encounter in vegetable canning include floating vegetables, discolored food or spoilage. Recognizing these issues and knowing how to address them is key to excelling in the skill of vegetable canning.
Properly canned fresh vegetables not only provide unmatched flavor, but also insure a steady supply of healthy food in your pantry, making it a worthwhile effort. Happy canning!
Understanding the Basics of Vegetable Canning
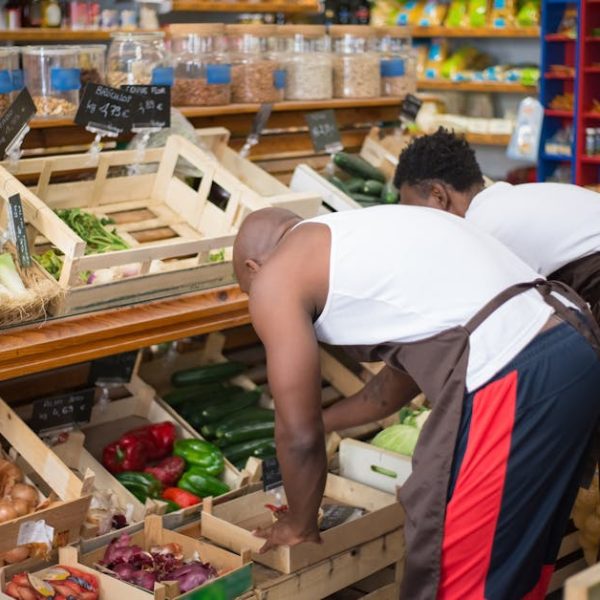
- Vegetable canning is a tried-and-true method of food preservation that has been relied upon for generations. This particular practice allows you to enjoy your favorite fresh vegetables year-round, helping you incorporate more nutrients into your diet without requiring a trip to the grocery store.
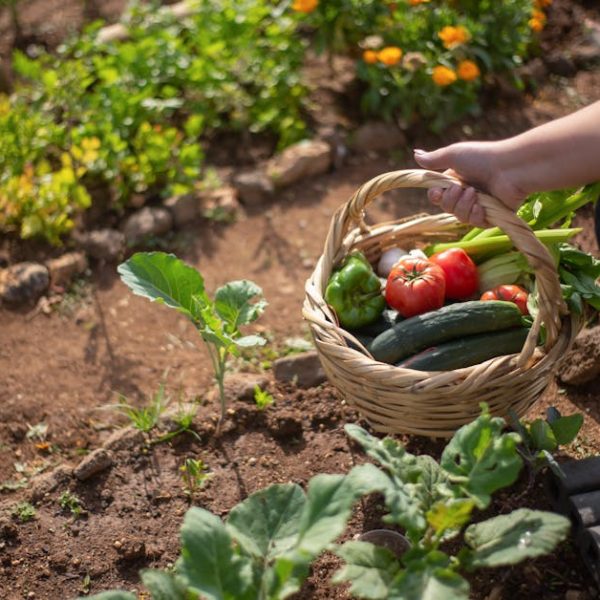
- Why is vegetable canning important? Beyond extending the shelf-life of your favorite greens, it can be a fun, rewarding practice for those with a green thumb, or someone looking to make the most out of their farmer’s market haul. Plus, knowing exactly what goes into your food and having complete control over the preservation process can be very satisfying.
From the nutritional standpoint, the canning process can actually increase the health benefits of certain vegetables by making some nutrients more easily absorbed by your body. For example, the lycopene in canned tomatoes is more available for body’s use compared to fresh tomatoes.
Best Practices:
- Freshness of vegetables: Your produce should be no more than 6 hours out of the garden for optimal results. Fresh vegetables result in a better texture, taste, and nutritional content in your canned goods.
- Sterilizing equipment: Any bacteria present could spoil your hard work. Sterilize your jars, lids, and other utensils in boiling water or in a dishwasher with a sterilizing cycle.
Selecting the Right Equipment for Vegetable Canning
Not all kitchen tools are created equal when it comes to canning. Anything used needs to adhere to certain standards to ensure safety and long-term preservation. The following can serve as your shopping list for your upcoming canning venture:
- Canning jars: Specifically designed to withstand high temperatures, these sturdy glass jars come in a variety of sizes.
- Two-piece lids: These come with a flat lid and a screw lid that are critical in sealing in your jars after the canning process.
- A canner: This could be either a water bath canner (for high-acid foods) or a pressure canner (for low-acid foods such as vegetables).
- Canning funnel: This makes filling your jars a breeze and reduces the risk of spillage.
- Jar lifter: This handy tool helps you safely move hot jars.
- Bubble remover & headspace tool: This enables you to remove air bubbles from the jars before they are sealed, and measure the headspace.
Knowing which canner to use can feel daunting, but don’t fret! We’ve prepared a comparison table to help you make an informed choice.
The Pressure Canner versus Water Bath Canner:
| Pressure Canning | Water Bath Canning |
|---|
| ————- | —————— | ——————– |
|---|
| Pros | Allows for higher temperature, thus is able to kill more bacteria and viruses. | Simpler to use, with less risk of accidentally overdoing the process. |
|---|
| Cons | More expensive and complicated to use. | Lower temperature might still leave some bacteria or viruses.|
Preparing the Vegetables for Canning
Every great work of art starts with a great canvas, and the same can be said of canning. Preparing your vegetables correctly ensures the finest quality of preserved goods.
Pro Tips:
- Brush away any visible dirt and then rinse your vegetables under cold running water.
- Peel certain veggies and de-seed where necessary.
- Blanching, the process of briefly boiling vegetables then quickly cooling them in ice water, helps retain their vibrant color and slows enzyme degradation.
Common Mistakes to Avoid:
- Overcooking your vegetables: This can result in mushy and unappealing canned goods, and may also reduce the nutritional content.
- Not cleaning thoroughly: Unwashed vegetables can introduce dirt and bacteria into your jars.
The Canning Process: From Filling Jars to Processing
The heart of the canning lies in the process following the preparation. Knowing how to properly pack and seal your jars ensures that your foods stay fresh and tasty until you’re ready to enjoy them.
Pro Tips:
- Spread your prepared vegetables generously and evenly into canning jars using a jar funnel.
- Tap jars gently on the countertop to settle contents, then remove air bubbles.
- Leave appropriate headspace before sealing your jars.
- Process jars in a water bath or pressure canner following the instructions per recipe.
Always remember: over-filling or under-processing jars can lead to an unsuccessful seal, and ending up with spoilt food.
Maintaining Quality and Safety of Canned Vegetables
Knowing how to properly store and check your preserved goods will keep your pantry safe and enjoyable for longer.
Best Practices:
Key Takeaway:
- Vegetable canning is a nutrition-preserving method that allows you to enjoy fresh vegetables all year round. You can control the ingredients and the preservation process, carrying a variety of health benefits and making it a satisfying venture.
- Keep the vegetables as fresh as possible and the equipment sterilized to ensure a successful canning process.
- Choosing the appropriate canning equipment plays a vital role. Canning jars, two-piece lids, a canner, and a canning funnel are a must, while a jar lifter and a bubble remover are handy to have.
- A pressure canner versus a water bath canner depends on whether you prefer efficiency over simplicity.
- Properly prepare the vegetables for canning by ensuring cleanliness, removing any inedible parts, and blanching for better color retention and slowed enzyme degradation.
- Overfilling jars or under processing can lead to spoiled food. Leave appropriate headspace in jars and follow recipe instructions for processing time in the canner.
- Regularly inspect canned vegetables for any signs of spoilage or contamination. Store them properly in a cool, dark place to prolong their quality.
Stay assured, your effort towards mastering this age-old craft will not only provide you precious self-reliance but also a pantry full of flavorsome and healthy vegetables around the year. Keep experimenting, learning, and most importantly, enjoying your home-canned produce.
FAQs
Q: What other tools might be useful in canning vegetables?
A: Besides jars, lids, canners, a funnel, and a jar lifter, you might also find a bubble remover, headspace tool, and magnetic lid lifter useful in your canning process.
Q: Do canned vegetables need refrigeration?
A: No, if correctly canned and sealed, the vegetables do not require refrigeration. However, after opening the jar, leftovers need to be refrigerated.
Q: How long will my canned vegetables last?
A: If properly canned, stored, and unopened, canned vegetables can last up to a year while still maintaining quality.
Q: Can I reuse the lids of my jars?
A: While the glass jars and bands can be reused after proper cleaning, the flat lids are for single use only. For safety reasons, always use new lids when canning.
Q: Can canning vegetables be dangerous?
A: Canning is safe as long as you follow all guidelines and instructions carefully. Make sure you always use fresh, quality produce, sterilize your equipment properly, and process jars correctly. Regular inspection of your canned vegetables is also crucial to detect signs of spoilage.
Feel free to share this article with others and explore more posts on our website.