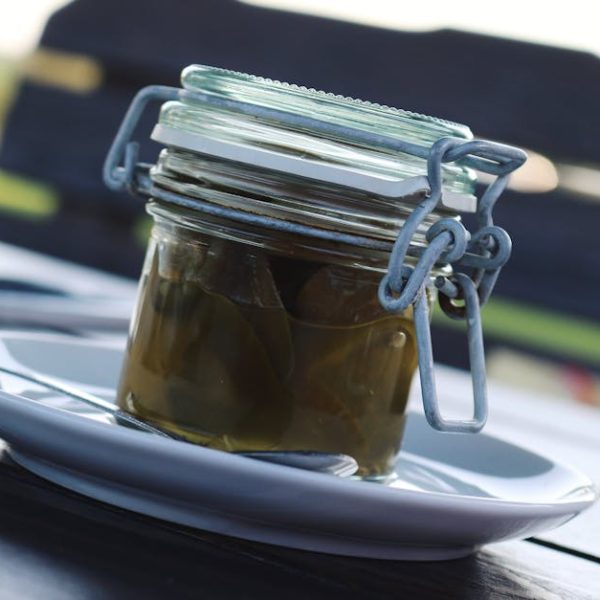
If you love the taste of fresh, crisp green beans even in the off-season, canning them is the answer. This method allows you to preserve their freshness, crunchiness, and most importantly, their nutritional value. With the right approach, you can turn your home kitchen into a mini green bean cannery. Let’s embark on this journey that will enable you to enjoy these nutritious and tasty green beans all year round.
Understanding the Importance of Canning Green Beans
There’s a kind of magic contained in a home-canned jar of green beans, and it goes beyond the preserved taste. Canning green beans has numerous advantages. It not only conserves their nutrients and freshness for a lengthy period, but it also provides a cost-effective alternative to frequently purchasing canned beans from the store.
Moreover, it substantially reduces food waste, as you can consume the beans at your pace without worrying about spoilage. Here are some key benefits:
- Nutrient preservation: Green beans are packed with vitamins and minerals, and canning helps conserve these nutrients for a longer period.
- Reduced waste: Since canned beans have an extended shelf-life, it significantly diminishes food waste prompted by spoilage.
- Cost-effective: Home canning reduces the cost and frequency of trips to the grocery store.
Pro Tip: Late summer and early fall, when green beans are at peak abundance, is the best time for canning them.
Picking and Preparing Your Green Beans
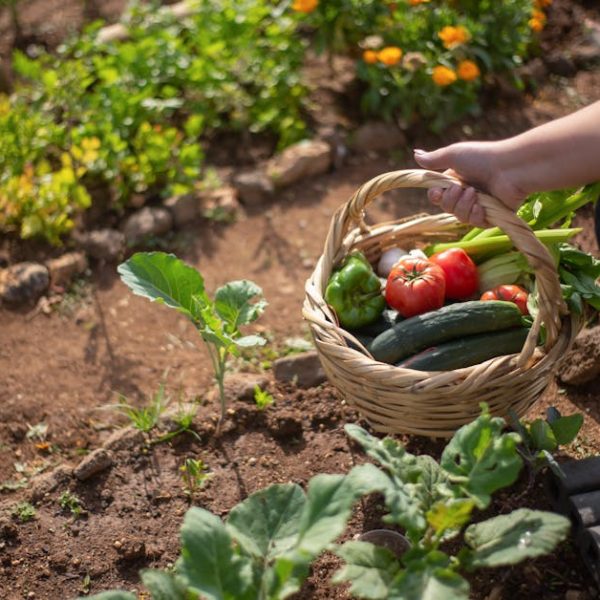
The quality of your canned green beans begins with the freshness of the beans you select for canning. Aim for young, tender green beans that are vibrant in color and free from any signs of decay. After picking, the preparation process starts with thorough washing, trimming, and blanching.
Here is a simple checklist to guide you in choosing the best beans for canning:
- Freshness: Choose green beans that are freshly picked and firm to the touch.
- Size: Opt for small to medium-sized beans for the best flavor.
- Color: The beans should be a vibrant green without brown spots or discoloration.
Pro Tip: A quick rinse under cold water followed by patting dry with a clean towel can efficiently clean and trim your beans.
Gathering Your Canning Supplies
Canning green beans requires some specific tools to ensure the process goes smoothly and safely. One of the most important tools is a pressure canner, as green beans must be processed under high temperature to eliminate bacteria and ensure safe storage.
Other essential supplies include clean canning jars, lids, and rings, a jar lifter for handling hot jars, a canning funnel for filling jars, and a bubble remover to eliminate air bubbles once the beans are packed in the jars.
Let’s break down the essentials:
- Pressure Canner: Essential for safely processing low-acid foods like green beans.
- Canning Jars, Lids, and Rings: You’ll need these to store your canned beans.
- Other tools: Jar lifter, funnel, and bubble remover—these make the process easier and safer.
Remember to sterilize your jars and lids properly before use, either by boiling them in water for at least 10 minutes or using a sterilize function if your dishwasher has one.
Step-By-Step Guide to Canning Green Beans
Once you’ve gathered all your supplies and prepared your green beans, you’re ready to start the canning process. Whether you are using the raw pack or hot pack method, the steps remain more or less the same.
Here are the steps to can green beans:
- Prepare your pressure canner according to its instructions and start heating up some water.
- Pack your green beans into your previously sterilized jars, leaving 1-inch headspace to allow for expansion.
- Add salt, if you wish, for added flavor, though it’s not necessary for preservation.
- Cover the beans with boiling water, still maintaining the 1-inch headspace.
- Wipe the rims of the jars clean and secure the lids and rings.
- Place your jars in the pressure canner using a jar lifter and process them according to the instructions of your specific canner and your altitude.
- Once the processing time is over, allow the canner to cool and depressurize before removing the jars.
- Let your jars cool for 24 hours, then check the seals. If any of the jars have not sealed properly, refrigerate them and consume within a few days.
Pro Tip: Ensure proper headspace by using headspace tool or even a simple ruler. Correct headspace is imperative for successful canning and preserving.
| Method | Pros | Cons |
|---|---|---|
| Hot Pack | Allows for a more significant quantity of beans in each jar. Extends the shelf life of beans. | Lengthier process as the beans need to be pre-cooked before canning. |
| Raw Pack | Swift and efficient method as it skips pre-cooking of beans. | Jars might not be as fully packed as with the hot pack method. |
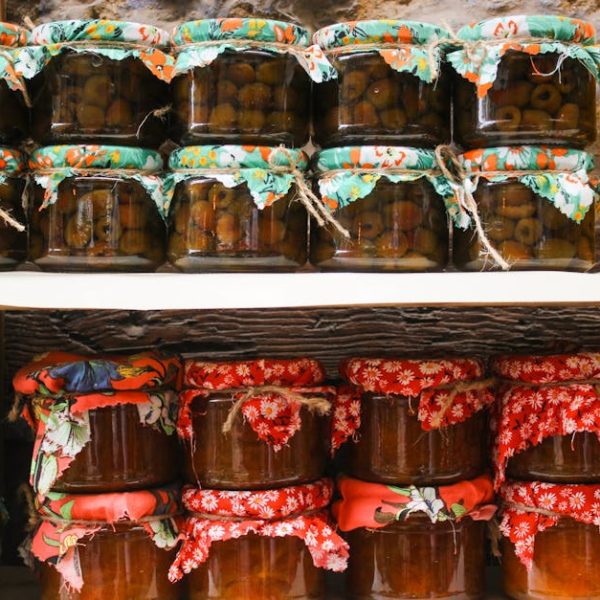
Maintaining the Quality and Safety of Your Canned Green Beans
After you’ve accomplished the feat of canning your green beans, it’s crucial to store them properly to maintain their quality, taste, and safety. Store them in a dark, cool, and dry place – ideally, a pantry or basement works best.
Be mindful of signs of spoilage, which include strange odors, leaking or bulging lids, or discolored beans. If you notice any of these signs, discard the beans immediately.
Consider these best practices for storage:
- Store in a cool place: A temperature between 50 and 70°F is perfect.
- Avoid light: Direct light can lead to color fading and nutrient loss.
- Check regularly: Regularly inspect your jars for any signs of spoilage.
Remember, home-canned green beans can last up to one year when properly stored, but for the best quality and taste, aim to consume within the first few months after canning.
Congratulations! If you’ve followed this guide meticulously, you should have several jars of delicious, nutritious, and perfectly canned green beans to enjoy throughout the year. Happy canning!
Key Takeaway:
- Canning is a method that preserves the freshness and nutritional value of green beans, providing cost-effective, reduced-waste alternative to store-bought options.
- Selecting fresh beans and cleaning carefully are crucial steps before canning.
- It’s important to use specialized tools including a pressure canner, jars, lids, pressure canners, jar lifters, and more for a successful canning process.
- Proper processing in a pressure canner ensures the canned beans’ safety and quality.
- Storing the canned beans under the right conditions and regularly inspecting for spoilage are necessary for maintaining their quality and safety.
Embarking on the journey of canning green beans at home might seem tasking initially, but with the right set of tools and this guide’s step-by-step instructions, you’ll soon be enjoying the fruits of your labor. Remember, the key to perfect home-canned green beans lies in the freshness of the beans, so start by picking the best quality. Happy canning!
FAQs
Q: What if I don’t have a pressure canner, can I still can green beans?
A: A pressure canner is essential for canning low-acid foods like green beans to ensure they are safe from bacteria. Without it, the beans may not be sufficiently safe for consumption.
Q: Can I skip the salt when canning green beans?
A: Yes, you can. Salt is not essential for preservation, it’s added to enhance the flavor of the beans.
Q: How many beans do I need to fill one jar for canning?
A: This largely depends on the size of your beans and the size of your jars. However, on average, one pound of green beans can fill a pint jar.
Q: How long can I store canned green beans?
A: Properly stored, home-canned green beans can last up to one year. However, for optimal taste and quality, it’s best to consume within the first few months after canning.
Q: How can I tell if my canned beans have gone bad?
A: Signs of spoilage include strange odors, leaking or bulging lids, or discolored beans. If you notice any of these signs, discard the beans immediately.
If you found this post helpful, do share it! Explore more posts on our website for additional tips and information.