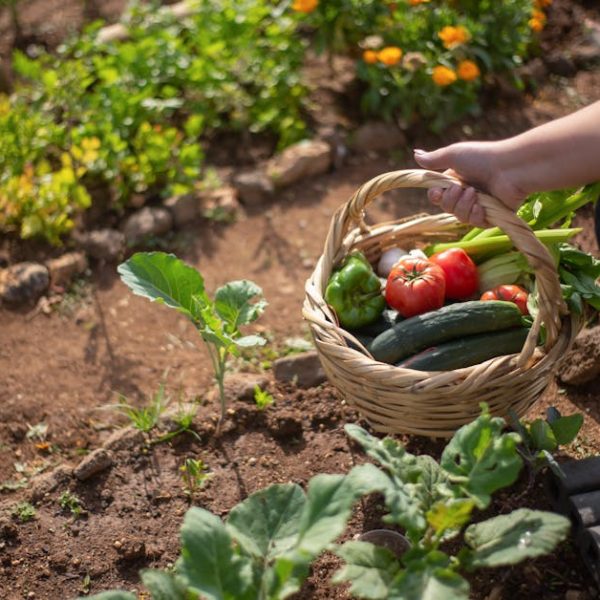
Okra, with its rich, grassy flavor and signature texture, makes for a great canned product. However, not all okra are created equal for canning purposes. The size and maturity of the vegetable play vital roles in the final product quality. Mature okra tend to become woody, affecting the texture and overall eating experience of the canned product. Meanwhile, immature pods picked too early possess a weak flavor and may break apart during canning. Therefore, for the perfect canned okra, opt for medium-sized, tender, yet firm pods.
The physical condition of the okra pods is another crucial factor to consider. A good-quality okra to can would have a bright color (usually green or purple), without any blemishes or discoloration. The okra should feel firm to the touch, not limp or overripe. Coming to the best time to harvest or buy, fresh okra in the morning when the pods have fully developed but not yet hardened is best.
Preparing Okra for Canning
Once you’ve selected the perfect okra, the next step is cleaning and trimming. This stage may seem trivial, but it significantly contributes to the end product’s quality. Start by rinsing the okra under cool running water to remove any dirt or foreign substances. Then, trim the stem ends, being careful not to cut into the pods, which can lead to a loss of texture during the canning process.
The decision to can whole or sliced okra depends on personal preference. Canning whole okra is simpler and preserves the vegetable’s texture better. However, sliced okra, especially when diagonally cut, can absorb the brining liquid better, resulting in a richer flavor. It’s a bit of a trade-off between texture and flavor, and the choice ultimately boils down to personal preference.
Materials and Equipment Required for Canning Okra
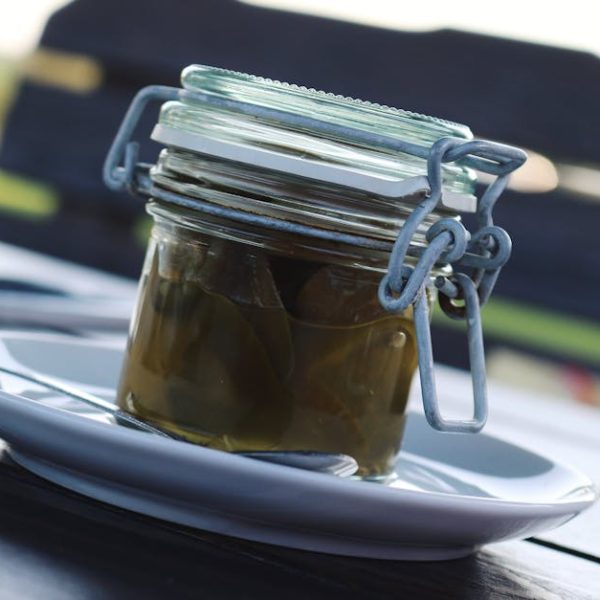
Canning okra at home requires some specific tools and materials. Of course, jars are essential – preferably glass mason jars with two-part lids (consisting of a flat lid and a screw-on band). These jars are available in different sizes, and your choice depends on how much okra you plan on canning. Other required tools include a water bath canner (or a large pot with a rack), a jar lifter, a clean cloth for wiping jars, and a ladle.
These supplies are readily available at supermarkets or online. However, if you can’t find certain items, there are alternatives. For instance, any large pot can serve as a water bath canner as long as it has a rack at the bottom to keep the jars off direct heat, and a pair of rubber-coated tongs can act as a jar lifter. The essential point is the tools should be clean and well-maintained to ensure the purity of the canned product.
Steps to Canning Okra
Canning okra is a relatively straightforward process. Here is a step-by-step guide:
- Prepare the Brining Solution: This is typically a mixture of vinegar, water, and canning salt, boiled until the salt is fully dissolved. You may also add spices like garlic, dill, and hot pepper to flavor the brine.
- Pack the Jars: Place the prepared okra into the sterilized jars, taking care not to pack it too tightly. Pour the hot brine into the jars, leaving about 1/2 inch of headspace.
- Seal the Jars: Wipe the rims of the jars with a clean cloth to remove any lingering okra particles or brine. Place the lids on the jars and screw on the bands until they’re finger-tight.
- Process in Water Bath: Place the sealed jars into a water bath canner (or large pot) filled with boiling water. Ensure the jars are fully submerged. Cover the pot and process for the appropriate time – usually 10 to 15 minutes, depending on the jar size.
- Cooling and Storage: Remove the jars from the water bath using a jar lifter and set aside to cool for 12-24 hours. Once cool, check the seals to ensure they’re tight. Store jars in a cool, dark place.
Always remember to maintain cleanliness and sterilize the jars and lids first to prevent any microbial contamination. If after cooling a jar doesn’t seal properly (the lid isn’t concave), it’s best to refrigerate it and consume the okra within a couple of weeks.
Maintaining Quality of Canned Okra
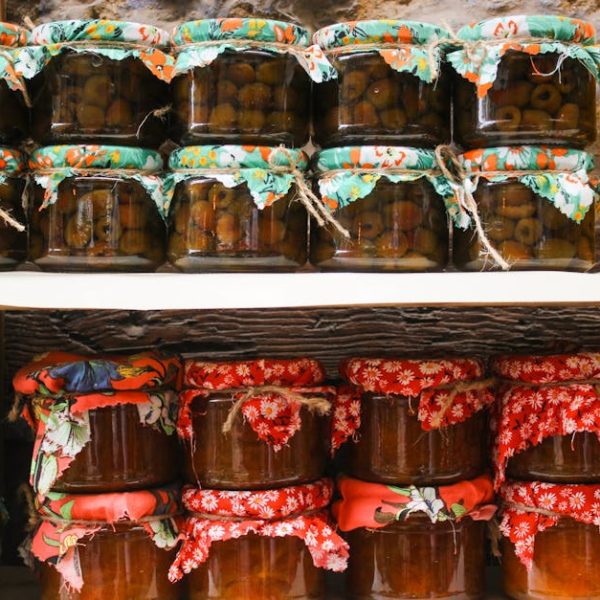
Storing canned okra properly is essential to its quality and shelf life. Keep your jars in a cool, dry, and dark location. The ideal temperature range for storing canned goods is between 50F – 70F. If stored properly, canned okra should remain good for up to a year or slightly more.
To check if the canned okra has spoiled, look for signs like leaking, bulging lids, unpleasant odors, or change in color. If any of these signs are present, discard the product immediately.
Common Mistakes in Okra Canning and How to Avoid Them
Canning okra is generally straightforward, but certain mistakes could affect the quality of your canned produce. These include overfilling jars, which might prevent proper sealing, under-processing in water bath, which can lead to spoilage, and improper storage.
To avoid these problems, follow the best practices – leave appropriate headspace in jars, strictly adhere to the processing times, and store canned okra correctly. Most importantly, always ensure that you use fresh, quality okra for canning.
Enjoying Your Home Canned Okra
Canned okra has a delightful taste and texture that complements a variety of dishes. From using it as a crunchy accompaniment to your sandwiches, as a tasty addition to your salads, to incorporating it in stews, soups, and casseroles, its applications are numerous.
Canned okra also makes for a nutritious and convenient ingredient. It is rich in fiber, vitamin C, and folate, making it a fantastic addition to a balanced and healthy diet. When preparing your dishes, remember that the okra has already been brined, so adjust the seasoning levels of your meal accordingly to prevent it from becoming overly salty.
Key Takeaway:
- Choosing the right okra for canning is crucial, with the optimal choice being medium-sized, firm, and blemish-free pods.
- Cleaning and trimming okra properly before canning is essential to retain the quality of the end product.
- Acquiring the necessary home-canning equipment, such as jars, lids, water bath canner, and jar lifter, will ensure a smooth canning process.
- Following a step-by-step canning process will guarantee safety and prevent contamination.
- Storing the canned okra properly can extend the product’s shelf life and maintain its quality.
- Being aware of common canning mistakes can help ensure a successful canning process and a high-quality end product.
- Finally, using canned okra in a variety of dishes can make tasty and nutritious meals.
With the right selection of okra, careful preparation, and a thorough processing stage, home-canned okra can be a delicious and nutritious addition to any meal. Remember to always prioritize safety and cleanliness during the canning process, store correctly, and use creativity in incorporating canned okra into your diet.
FAQs
Q: Can I reuse my canning jar lids?
A: No, it’s not advised to reuse canning jar lids as they might not seal properly the second time around. This could pose a safety risk due to possible contamination.
Q: Do I need to refrigerate my home-canned okra?
A: No, as long as the jars are properly canned and sealed, you can store them in a cool, dark place. However, once opened, they should be refrigerated and consumed within a couple of weeks.
Q: Can I can okra without a water bath?
A: No, the water bath is a crucial step in the home-canning process as it kills bacteria, yeast, and molds that could lead to spoilage and foodborne illnesses.
Q: Can I can okra without using vinegar?
A: Technically, yes. However, the acidity from the vinegar helps to preserve the okra and maintain its quality over time, thus it’s highly recommended.
Q: Can I substitute kosher salt for canning salt?
A: It’s not recommended as kosher salt often contains anti-caking agents and may result in a cloudy jar of canned okra. Canning salt is free from additives, making it the best choice for canning purposes.
Feel free to share this article and explore more posts on our website to lead a healthy and balanced lifestyle with nutritious and delicious meals.