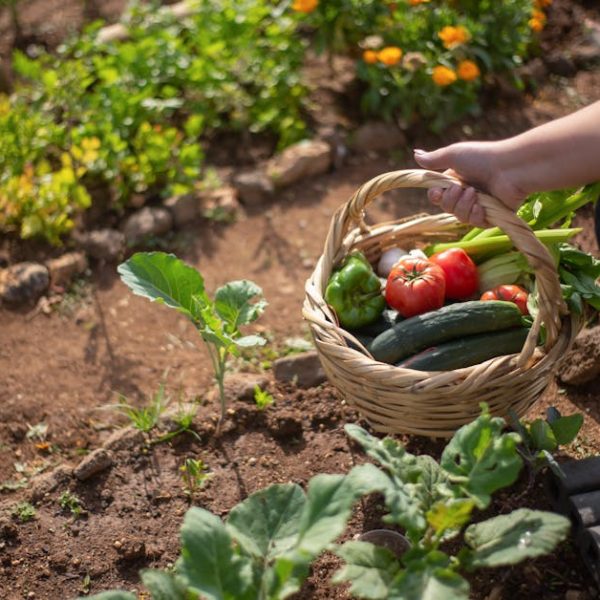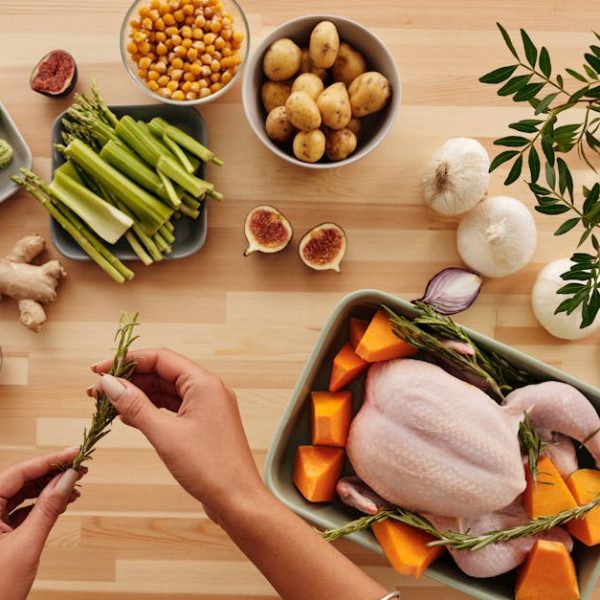
Adding a punch of tangy flavor and that distinct crunch to your dishes has never been this easy. With the smart and simplified techniques for pickling celery we’ll explore in this article, you can turn this natural source of vitamins and fiber into a mouthwatering condiment.
Understanding the Basic Process
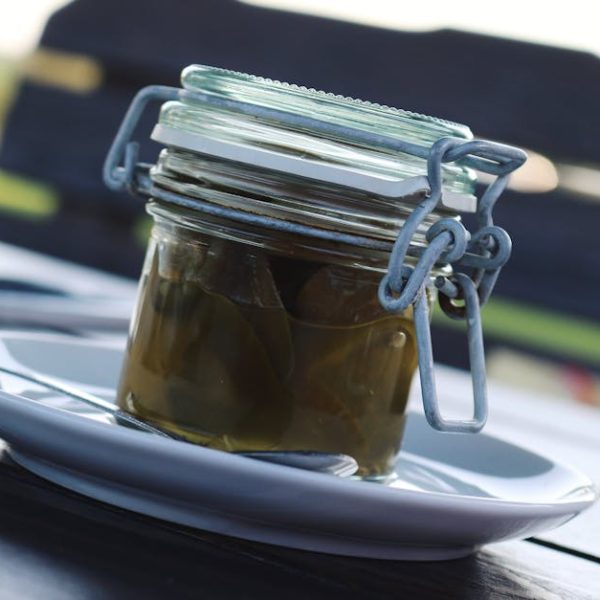
Pickling, essentially, is the process of preserving or extending the lifespan of food by either anaerobic fermentation in brine or immersion in vinegar. The resultant food is known as a pickle. For our purposes here, pickling celery involves immersing the celery in a solution often known as ‘pickle’ which adds a sour punch to its taste.
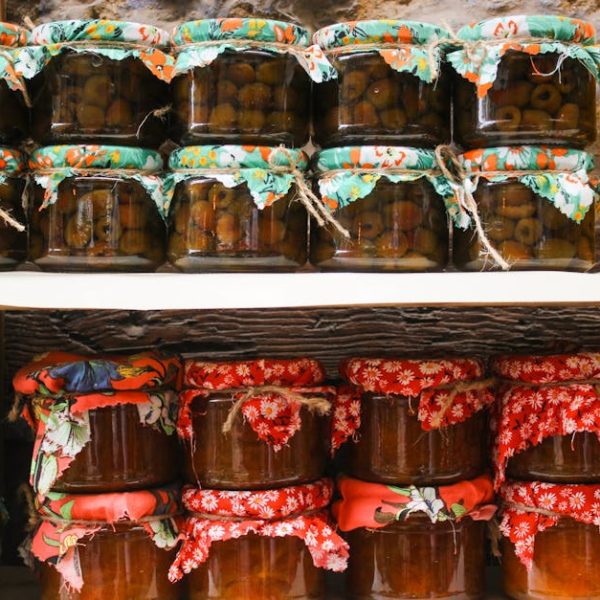
It’s vital in pickling to have sterilized jars ready, which helps prevent unwanted bacterial growth. A simple boil and dry suffice, or you can use a dishwasher if it has a sterilize setting.
Key pickling ingredients and tools include:
- Celery sticks
- Pickling jars
- Vinegar or brine
- Additional flavorings (dill, garlic, chili, etc.)
- A saucepan
- A ladle or funnel
Technique 1: Traditional Vinegar-Based Pickling
This technique is possibly the most common, and it’s quite straightforward. Vinegar-based pickling involves combining a high-acidity vinegar with water, salt, and optionally sugar, to create your pickling liquid.
For this method, you’ll need:
- 2 cups of vinegar (white or apple cider preferably)
- 2 cups of water
- 1 tablespoon of salt
- 1 tablespoon of sugar (optional)
- Celery sticks
- A pickling jar
Remember, regardless of your vinegar type, ensure all ingredients mix thoroughly, and your celery is fully immersed in the pickling solution—this leads to an evenly pickled batch.
Technique 2: Sweet Pickling with Sugar and Spices
Adding a sizeable amount of sugar to your pickling liquid achieves a delightful sweet pickle. A delicate balance is crucial though – over-sweetening can overpower the flavors of your spices and celery itself.
For sweet pickling celery, follow these steps:
- Boil together equal parts of vinegar and sugar until the sugar dissolves.
- Add spices (cloves, mustard seeds, etc.).
- Add the celery sticks into the pickling jar, pour the sweet pickle solution over them, and seal.
Balancing the flavors when sweet pickling can be a bit tricky. The sweetness of the sugar must complement, not suppress, the celery’s natural flavor and the introduced spices. Moreover, you might find the celery too sweet if you’re not a fan of sweet pickles – so try to strike a balance!
Technique 3: Fermented Pickling for Increased Health Benefits
This method not only extends the shelf life of your celery but also enhances its health benefits. Fermented pickling involves immersing the celery in a salt-water brine and allowing naturally occurring lactobacillus bacteria to convert sugars into lactic acid, which acts as a natural preservative.
Here are the key items you’ll need:
- A pickling jar
- Sea salt (Non-iodized)
- Filtered/distilled water
- Celery sticks
Pro Tip: To up the health benefits, add garlic and dill into the pickling jar. Garlic possesses several health properties and can act as an antibiotic, while dill contains multiple nutrients including vitamin A and C, iron, and manganese.
Technique 4: Quick Pickling for Instant Results
Have a sudden longing for pickled celery but not much time? A quick pickling process can give you almost instantaneous results, although the flavor and texture might not be as developed as with the traditional methods.
To quick pickle celery, simply follow these steps:
- Bring a solution of equal parts water and vinegar, with salt and sugar to taste, to a boil.
- Pour the hot solution over your celery sticks in a pickling jar.
- Allow to cool before sealing the jar and refrigerating.
In quick pickling, it’s critical to make sure your pickling solution is hot and that your jar is cooled down before sealing it. This prevents the jar from cracking or breaking, and the stored pickles should be consumed within a month.
Technique 5: Pickling with Alcohol for a Unique Taste
Yes, you read that right! Pickling with alcohol, such as gin, vodka, or other spirits, can lead to a uniquely flavorful pickle, though it’s important to note that most of the alcohol evaporates during the pickling process.
You can pickle with:
- Vodka
- Gin
- Brandy
- Other spirits of your choice
One downside is that the alcohol can evaporate, and if the liquid reduces too much, your celery may not be fully submerged, leading to uneven pickling.
Technique 6: Spicy Pickling for Extra Heat
Add some fiery flavor to your celery pickles by spicy pickling. Infuse your pickling solution with hot spices or fresh peppers.
For a fiery pickle, you’ll need:
- Chili peppers—fresh or dried
- Hot sauce
- Spicy mustard seeds
- Any hot spices of your choice
Pro Tip: To manage the heat level, consider adding a touch of a sweet component, such as sugar or sweet peppers. It will beautifully offset the heat, creating a spicy-sweet balance.
Technique 7: Brine Pickling for Crunchy Texture
This technique results in a crisper, crunchier pickle that preserves the celery’s fresh texture while introducing tanginess. The process involves immersing the celery in a salty brine solution.
Remember these steps for brine pickling:
- Dissolve your non-iodized salt in warm water to create a brine solution.
- Pack your celery sticks into the jar.
- Fill the jar with the brine and ensure the celery is fully submerged.
- Seal the jar and store it in a cool, dark place.
It’s crucial to use non-iodized salt because iodized salt can darken pickles and make the pickling liquid cloudy. Plus, always ensure the celery is fully submerged for an even pickle.
Bonus Tips: Ensuring Safe and Effective Home Pickling
Irrespective of the method you choose, safety, proper storage, and consumption are critical. Always ensure your jars and tools are sterilized, your pickle solution is adequately cooled before sealing, and your finished pickles are refrigerated.
Here’s a comparison of the techniques we’ve explored in this article: