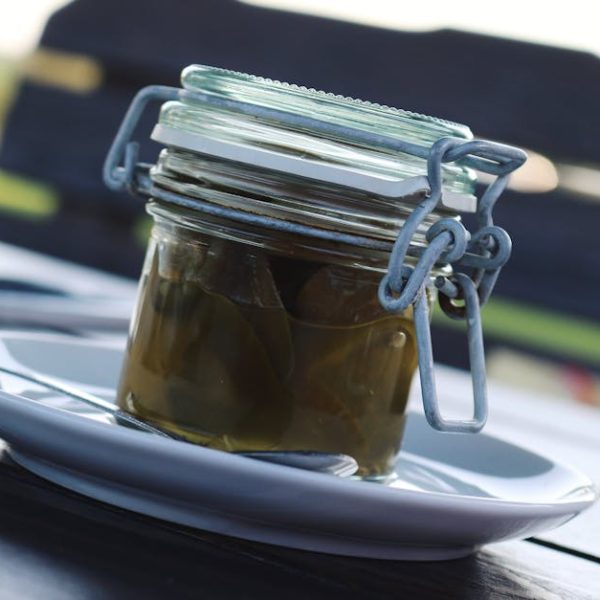
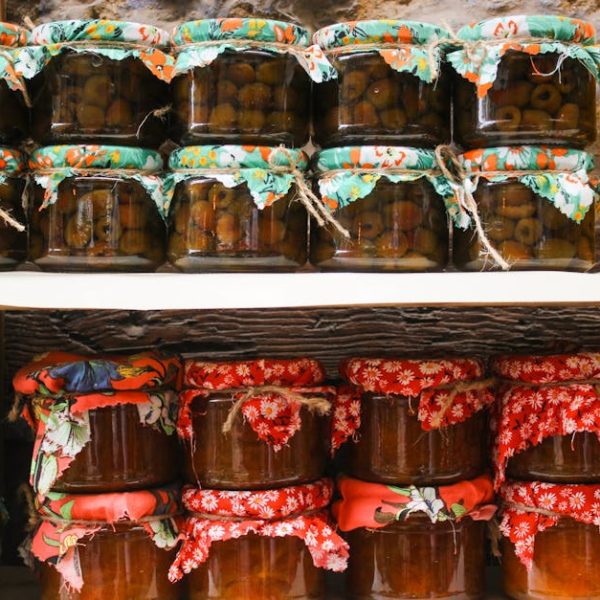
Water bath canning is a tried-and-tested technique that has allowed households to preserve their harvest at home for centuries. This method involves submerging filled jars of food in boiling water to exterminate harmful bacteria, yeasts, and molds. Upon cooling, the jars create an airtight seal that wards off new microbes, keeping your food fresh and delicious for longer periods of time.
This method is particularly well suited for preserving high-acidity foods such as fruits, jams, jellies, salsas, tomatoes, pickles, and vinegars. An essential pro tip to remember: the success of water bath canning largely hinges on the acidity of the food. Maintaining a good balance of acidity helps ensure the safety of the canned foods by creating an inhospitable environment for harmful microbes.
Selecting the Right Equipment for Water Bath Canning
Don’t be wary of the idea of making the initial investment in canning equipment. Over time, you will reap the fruits of your labor – both literally and figuratively – as you are able to preserve the produce from your garden in an economical and satisfying way.
Let’s dive in to know the few basics you’ll need:
- Glass c jars (in commonly used sizes)
- Two-piece vacuum caps consisting of a flat, rubber-lined metal lid and a metal screw band
- A water bath canner or large, deep saucepot with a lid and a rack
- A jar lifter
- A canning funnel
- A bubble remover and headspace tool
A quick note on safety here: working with glass jars, hot liquids and gentle food items as you can, it’s important to exercise caution and attentiveness to avoid any mishaps.
Next, the type of canner you go for plays a crucial role with each coming with its own pros and cons. Whether you choose an enamel-on-steel version or one made of aluminum, make sure it’s sturdy, heats quickly and evenly, and can comfortably fit your jars.
Choosing Quality Ingredients for Canning
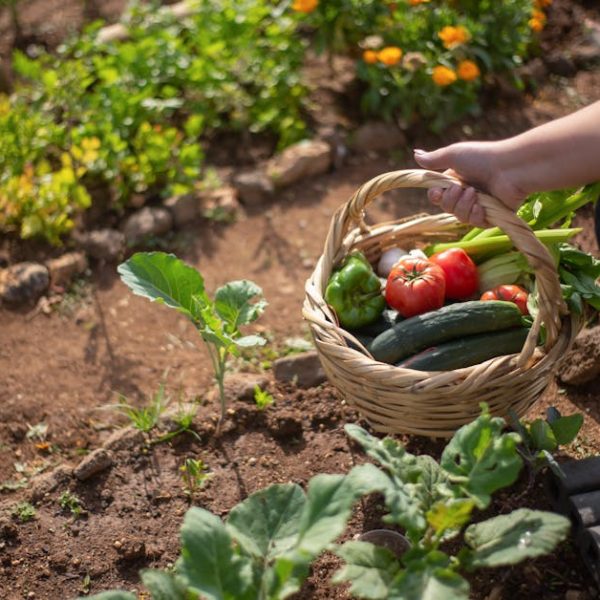
Water bath canning won’t magically transform mediocre produce into epicurean delights. Start with high-quality, fresh ingredients for a remarkable difference. This implies selecting mature, but not overripe, fruits and vegetables. Foods like apples, peaches, pears, cherries, berries, tomatoes, cucumbers, and bell peppers are excellent contenders for canning.
A handy tip here is to look for firm produce, free from any bruises or defects. Also, ensure they have vivid color and a fresh smell. Before packing your jars, you would want to wash these ingredients thoroughly to remove any dirt or chemicals. Cutting, peeling, and coring should also be done appropriately to prepare them for the canning procedure.
Proper Filling and Sealing of Canning Jars
Now onto the part you’ve probably been waiting for: Filling and sealing the jars. Taking time to do this step correctly is central to ensuring your home-canned goods remain safe and pleasant to eat.
Here is your concise guide to doing it just right:
- Clean your jars and lids: Make sure your jars are chip- and crack-free. Clean lids and jars with hot soapy water, rinsing well afterwards.
- Preheat your jars: Jars should be hot at the time of filling to prevent breakage when put into boiling water.
- Fill your jars: Use the canning funnel and ladle your food into jar, leaving enough headspace.
- Remove air bubbles: Air pockets could affect the quality of canned foods.
- Wipe the rim: Cleaning the rim of jar ensures a tighter seal.
- Apply and adjust lids: Place lids and screw bands, not too tight, but enough to allow expansion during processing time.
- Post-seal check: After canning process, press the center of lid. If it springs back, the jar isn’t sealed.
While sealing, remember it’s important to leave the right amount of headspace—the gap between the food and the lid because it lets the food expand during processing and form a vacuum during cooling.
Maintaining the Right Processing Time and Temperature
One might think all there is to canning is putting food in jars and boiling them. While this is the baseline, if you want your canned foods to be safe, your best bet is to maintain the right processing temperature and time.
Recommended processing times and temperatures can vary greatly based on what you’re preserving, ranging from 5 minutes for certain fruits to over an hour for meat and poultry. When it comes to temperature, we’re generally going for a steady boil.
High altitudes pose a special challenge as higher altitudes can lower boiling point, potentially leading to under-processing—meaning some bacteria might survive the canning process. Therefore, for every 1000 feet above sea level, you should increase your processing time by about 5%.
Proper Cooling and Storage of Canned Foods
Yes, cooling! This often-overlooked step is actually integral to the canning process. When jars are removed from the canner, they should be left undisturbed for 12-24 hours. This allows jars to seal and cool evenly, preserving the food’s texture and integrity.
A well-stored jar of canned food can last around a year. If you see lids rusting or bulging, or if lids pop off, discard the product.
Here’s your brief checklist for safe storage:
- Label and date canned foods.
- Store canned foods in a dark place.
- Store at a moderate temperature (50-70°F).
Remember, home canned foods start aging the moment they’re processed—light, heat, and elevated temperatures can break down food quality, so play it safe and use a “first canned, first used” policy. Have fun canning!
Key Takeaway:
- Water bath canning is a versatile and effective method for long-term preservation of food at home, particularly for high-acidity foods. Acid balance plays a significant role in the successful preservation of the food.
- Selecting the right quality and type of canning equipment is crucial for an effective canning process. This includes canners, glass jars, and various other tools.
- High-quality, fresh ingredients are a fundamental for the successful canning. Proper preparation of foods prior to canning can impact the overall result.
- Proper filling, sealing and ensuring ideal headspace in jars are significant for the long-term preservation of food.
- Maintenance of the right processing time and temperature during the canning process is essential, and may vary based on the type of food being preserved.
- Allowing jars to cool properly post-canning and storing them correctly greatly influences the lifespan and safety of the food preserved.
Home water bath canning may seem like a daunting task at first, but it is indeed rewarding once mastered. Do remember that the quality of your canned foods highly depends on the ingredients, tools, and processes used. Take your time, follow the guidelines, and you’ll soon be reaping the delicious, preserved fruits of your labor. Happy canning!
FAQs
Q: Can I use any glass jar for water bath canning or do I need specific ones?
A: It’s highly recommended to use specially designed jars for canning because they are created to withstand high temperatures and form a proper seal.
Q: What types of foods are not suitable for water bath canning?
A: Low acidic foods like most vegetables, meats, and poultry are not suitable for water bath canning as they require higher temperatures to kill certain types of bacteria.
Q: Can I can my food without any special equipment?
A: While you might be able to use substitutes for certain tools, some equipment like a water bath canner and special jars are essential for safety and successful canning.
Q: Does the size of the jar affect the canning process?
A: Yes, the size of the jar can impact the processing time needed. Always follow guidelines specific to the size of your jars.
Q: Why is my canned food discolouring over time?
A: Factors like light exposure, ingredients used, and the processing method can cause your food to change colour over time. However, it doesn’t always mean your food has spoiled.
Remember to share this article with your friends if you found it helpful, and explore more posts on our website for other insights.
